ESP32-H2 DevKitM-1 Pinout: Safe GPIOs, ADC, I2C & SPI

ESP32-H2 DevKitM-1 pinout with header map, safe GPIOs, boot/strapping pins, ADC, I2C, SPI, UART, USB and onboard LED details.

ESP32-H2 DevKitM-1 pinout with header map, safe GPIOs, boot/strapping pins, ADC, I2C, SPI, UART, USB and onboard LED details.
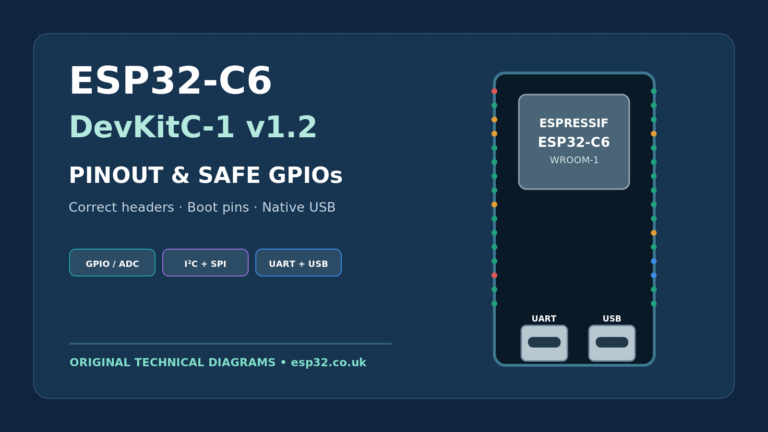
ESP32-C6 DevKitC-1 v1.2 pinout with correct J1/J3 headers, safe GPIOs, boot pins, ADC, I2C, SPI, UART, USB and RGB LED details.

(LCD, encoder, RGB LED, audio, IR, “safe” pins) The ESP32-C3-LCDkit is a small all-in-one dev board with: It’s perfect for small GUI gadgets, knobs, thermostats, timers – but many GPIOs are already “spoken for” by the LCD and other peripherals.…
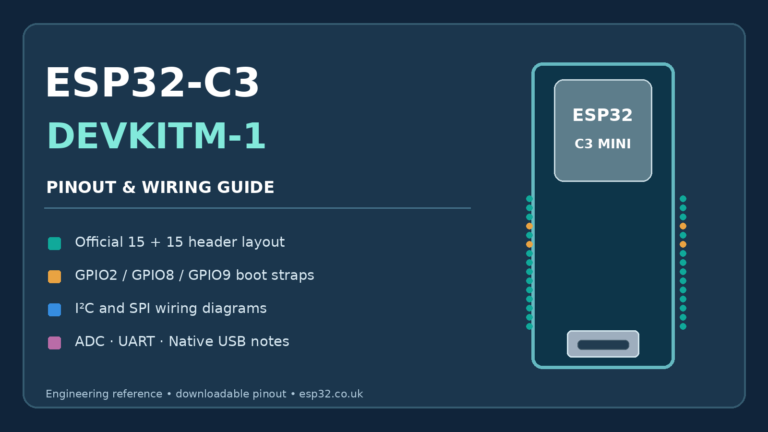
The ESP32-C3 DevKitM-1 pinout exposes GPIO0–10 and GPIO18–21. For the safest general-purpose choices, start with GPIO0, GPIO1, GPIO3, GPIO4, GPIO6, GPIO7 and GPIO10; treat GPIO2, GPIO8 and GPIO9 as boot-strapping pins. The ESP32-C3-DevKitM-1 is Espressif’s tiny RISC-V dev board based…

ESP32-C3 DevKitC-02 and WROOM-02 pinout with header map, safe GPIOs, ADC, I2C, SPI, UART, boot/strapping pins and onboard RGB LED.

(Safe Pins, ADC, I²C, SPI – and why there is no touch) ESP32-C2 is the small brother in the ESP32 family: Wi-Fi 4 + BLE 5, RISC-V core at up to 120 MHz, and only 14 GPIOs – the ESP8684…

ESP-NOW is a proprietary low-power, low-latency wireless protocol by Espressif that allows ESP32 boards to talk directly to each other without creating full Wi-Fi connections. It’s ideal for building a fast sensor network that reports into Home Assistant through a…

A “smart” bathroom fan should: Below is a complete Home Assistant implementation that uses: The logic is split into three parts: 1. Prerequisites: Entities Used Assumed entities: If the fan is a switch, just replace fan.bathroom_fan with switch.bathroom_fan in the…
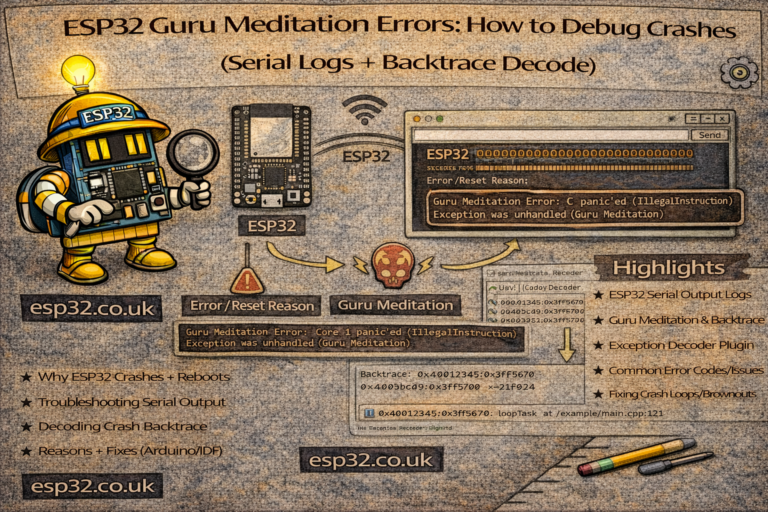
When an ESP32 randomly resets, freezes, or shows a “Guru Meditation Error”, one of the simplest and most effective ways to find the problem is to log progress to the Serial Monitor. The idea is very basic: Add Serial.println(“Line X”);…

This project shows how to do a simple LoRa “Hello World” send & receive test using two TTGO LoRa32 (SX1276) boards with built-in 0.96″ SSD1306 OLED displays. We’ll configure one board as a sender, which sends a counter every second,…