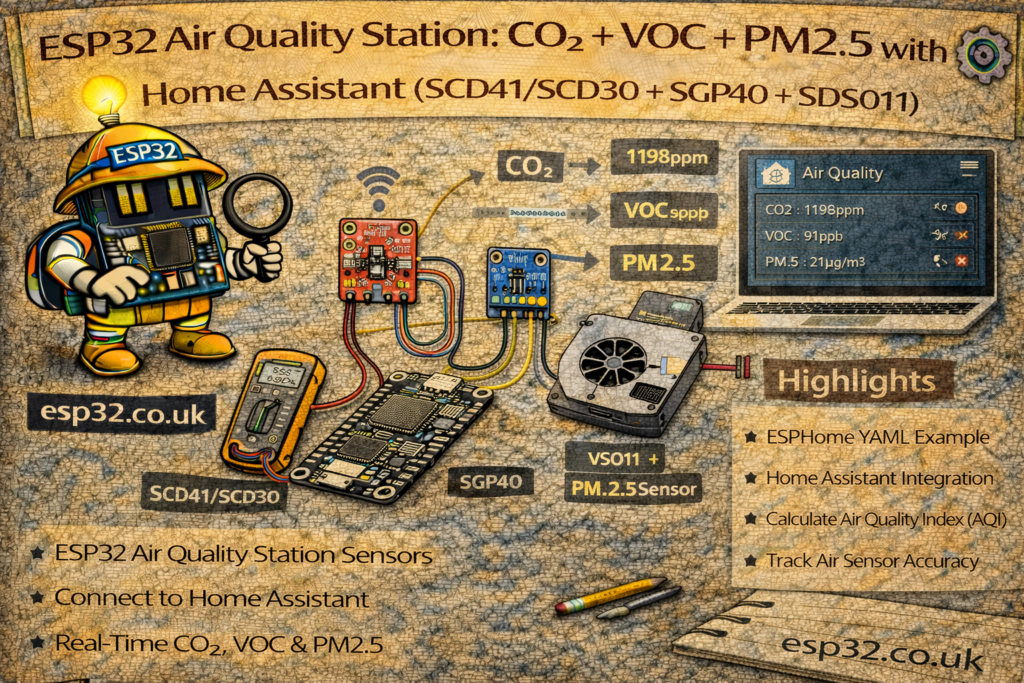
Build an ESP32 air quality station for Home Assistant using SCD41 or SCD30 for CO₂, SGP40 for VOCs, and SDS011 for PM2.5, with clear wiring, ESPHome setup, MQTT alternatives, dashboard examples, and practical automations for healthier indoor air.
If you want one “single source of truth” for indoor air quality, the most useful combo is:
- CO₂ (ventilation / human presence proxy) → SCD41 or SCD30
- VOC index (chemicals, cooking, cleaners, off-gassing) → SGP40
- PM2.5 / particulate (smoke, dust, outdoor pollution) → SDS011 or similar PM sensor
With an ESP32 you can build a compact air quality station that reports to Home Assistant and gives you:
- A clear indoor air quality dashboard
- Automations: fan boost / ventilation alerts / window reminders
- Long-term trends and “what caused that spike?” insights
This guide shows wiring and configuration using ESPHome (recommended) plus an MQTT-style alternative approach.
1. Sensor Selection (Quick)
CO₂: SCD41 vs SCD30
- SCD41: smaller, typically lower power, great modern choice
- SCD30: older but excellent accuracy and stability
Both provide:
- CO₂ (ppm)
- Temperature (°C)
- Humidity (%)
VOC: SGP40
- Outputs VOC Index (not ppm)
- Best interpreted as a trend/scale:
- Lower is better, spikes indicate pollution events
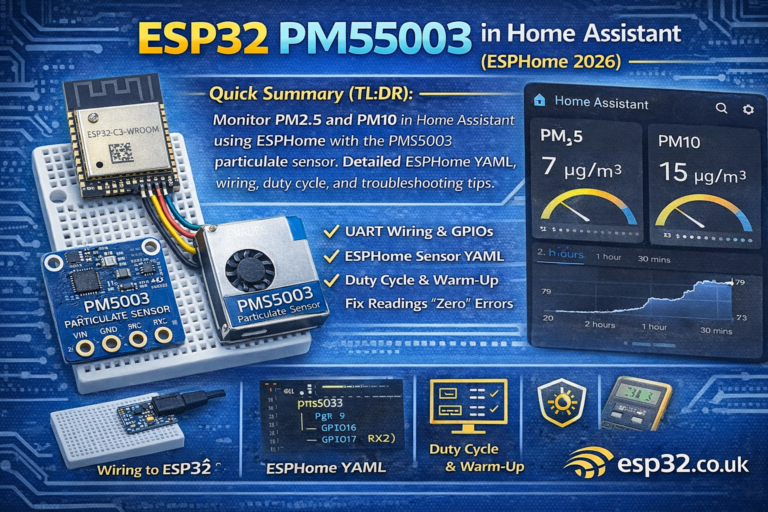
PM2.5: SDS011 (UART)
- Measures PM2.5 and PM10 (µg/m³)
- Needs airflow and decent placement
- Draws more current than the I²C sensors
2. Hardware Required
- ESP32 DevKit
- SCD41 or SCD30 (I²C)
- SGP40 (I²C)
- SDS011 particulate sensor (UART)
- 5 V power supply (SDS011 typically needs 5 V)
- Enclosure with airflow (don’t seal it airtight)
Optional but recommended:
- Small 5 V fan for airflow (quiet, slow) for more stable PM readings
- Display (OLED) if you want local readout (optional)
3. Wiring Overview
3.1 I²C Bus (SCD41/SCD30 + SGP40)
I²C is shared:
ESP32        SCD41/SCD30     SGP40
3.3V  -----> VCC             VCC
GND   -----> GND             GND
GPIO21 ----> SDA             SDA
GPIO22 ----> SCL             SCL
Note: Many breakouts already include pull-up resistors. If your setup behaves oddly (I²C instability), reduce cable length and avoid “too many pull-ups” on the same bus.
3.2 SDS011 (UART)
SDS011 typically uses 5 V power and UART TTL.
ESP32        SDS011
5V    -----> 5V
GND   -----> GND
GPIO16 (RX) <----- TX
GPIO17 (TX) -----> RX
(ESP32 TX/RX pins can be swapped; just match them in config.)
METHOD 1 — ESPHome Air Quality Station (Recommended)
ESPHome makes multi-sensor nodes clean and maintainable.
4. ESPHome Base Configuration
esphome:
  name: esp32-air-quality
  platform: ESP32
  board: esp32dev

wifi:
  ssid: "YOUR_WIFI"
  password: "YOUR_PASSWORD"

logger:
api:
ota:
5. I²C Configuration
i2c:
  sda: 21
  scl: 22
  scan: true
6. CO₂ Sensor (Choose One)
Option A: SCD41 (scd4x)
sensor:
  - platform: scd4x
    co2:
      name: "Air CO2"
      id: co2_ppm
    temperature:
      name: "Air Temperature"
      id: air_temp
    humidity:
      name: "Air Humidity"
      id: air_hum
    update_interval: 30s
Option B: SCD30
sensor:
  - platform: scd30
    co2:
      name: "Air CO2"
      id: co2_ppm
    temperature:
      name: "Air Temperature"
      id: air_temp
    humidity:
      name: "Air Humidity"
      id: air_hum
    update_interval: 30s
Use one, not both.
7. VOC Sensor (SGP40)
ESPHome commonly uses the sgp4x platform (VOC index output).
sensor:
  - platform: sgp4x
    voc:
      name: "VOC Index"
      id: voc_index
    update_interval: 30s
Better VOC accuracy: SGP sensors often benefit from temperature/humidity compensation. If your ESPHome setup supports it, feed temp/humidity into the VOC algorithm.
8. PM Sensor (SDS011)
SDS011 uses UART:
uart:
  rx_pin: 16
  tx_pin: 17
  baud_rate: 9600
Now define the sensor:
sensor:
  - platform: sds011
    pm_2_5:
      name: "PM2.5"
      id: pm25
    pm_10_0:
      name: "PM10"
      id: pm10
    update_interval: 60s
9. Optional: Derived “Air Quality Score” Sensors
Once you have the raw values, you can create a simple combined score to show as a single gauge.
Example: “poor if any is bad” logic as a text sensor:
text_sensor:
  - platform: template
    name: "Air Quality Status"
    lambda: |-
      if (id(co2_ppm).state > 1200 || id(pm25).state > 35 || id(voc_index).state > 200) {
        return {"Poor"};
      } else if (id(co2_ppm).state > 900 || id(pm25).state > 15 || id(voc_index).state > 120) {
        return {"OK"};
      } else {
        return {"Good"};
      }
This is deliberately simple and practical: it gives you a single “Good/OK/Poor” status that tracks what you actually care about.
10. Home Assistant Dashboard (Indoor Air Quality)
Once the ESPHome node is added, Home Assistant will have entities like:
sensor.air_co2sensor.pm2_5sensor.voc_indexsensor.air_temperaturesensor.air_humiditytext_sensor.air_quality_status(if added)
10.1 Dashboard Card Example
type: vertical-stack
cards:
  - type: gauge
    entity: sensor.air_co2
    name: CO₂ (ppm)
    min: 400
    max: 2000

  - type: gauge
    entity: sensor.pm2_5
    name: PM2.5 (µg/m³)
    min: 0
    max: 150

  - type: gauge
    entity: sensor.voc_index
    name: VOC Index
    min: 0
    max: 500

  - type: entities
    entities:
      - sensor.air_temperature
      - sensor.air_humidity
      - text_sensor.air_quality_status
11. Useful Home Assistant Automations
11.1 Ventilation Reminder (CO₂)
automation:
  - alias: "Air Quality – CO2 High"
    trigger:
      - platform: numeric_state
        entity_id: sensor.air_co2
        above: 1000
        for: "00:10:00"
    action:
      - service: notify.mobile_app
        data:
          title: "Air Quality"
          message: "CO₂ is high (>1000 ppm). Consider opening a window."
11.2 PM2.5 Alert (Smoke / Dust)
  - alias: "Air Quality – PM2.5 Spike"
    trigger:
      - platform: numeric_state
        entity_id: sensor.pm2_5
        above: 35
        for: "00:05:00"
    action:
      - service: notify.mobile_app
        data:
          title: "Air Quality"
          message: "PM2.5 is elevated. Check for smoke/cooking or outdoor pollution."
11.3 VOC Spike (Cooking / Cleaning)
  - alias: "Air Quality – VOC Spike"
    trigger:
      - platform: numeric_state
        entity_id: sensor.voc_index
        above: 200
        for: "00:05:00"
    action:
      - service: notify.mobile_app
        data:
          title: "Air Quality"
          message: "VOC index is high. Ventilation recommended."
METHOD 2 — MQTT Approach (If You Prefer Your MQTT Style)
ESP32 publishes one JSON payload:
Topic: home/air/quality
Payload:
{"co2": 842, "pm25": 6.2, "pm10": 11.4, "voc": 92, "t": 22.1, "h": 45.3}
Home Assistant:
mqtt:
  sensor:
    - name: "Air CO2"
      state_topic: "home/air/quality"
      value_template: "{{ value_json.co2 }}"
      unit_of_measurement: "ppm"

    - name: "PM2.5"
      state_topic: "home/air/quality"
      value_template: "{{ value_json.pm25 }}"
      unit_of_measurement: "µg/m³"

    - name: "PM10"
      state_topic: "home/air/quality"
      value_template: "{{ value_json.pm10 }}"
      unit_of_measurement: "µg/m³"

    - name: "VOC Index"
      state_topic: "home/air/quality"
      value_template: "{{ value_json.voc }}"

    - name: "Air Temperature"
      state_topic: "home/air/quality"
      value_template: "{{ value_json.t }}"
      unit_of_measurement: "°C"

    - name: "Air Humidity"
      state_topic: "home/air/quality"
      value_template: "{{ value_json.h }}"
      unit_of_measurement: "%"
This matches the working MQTT syntax you shared earlier.
12. Placement & Accuracy Tips (Matters More Than People Think)
- Don’t place it directly next to a window or AC vent
- Keep it away from kitchen hob if you want “whole room” readings
- PM sensors need airflow:
- Don’t suffocate the inlet/outlet
- Consider a slow fan for stability
- CO₂ sensors want stable air mixing:
- Avoid corners and enclosed shelves
- Give CO₂ sensors time to warm up and settle after power-up
Summary
A combined ESP32 air quality station is one of the most useful “always-on” Home Assistant nodes:
- CO₂ tells you when ventilation is needed
- VOC catches chemicals, cooking, cleaners and off-gassing
- PM2.5 catches smoke, dust and outdoor pollution events
- Everything appears as normal HA sensors with a clean dashboard and automations
Once installed, you’ll quickly learn the patterns of your home: what cooking does, what cleaning sprays do, and how quickly CO₂ rises overnight—then you can automate ventilation in a smart, targeted way.