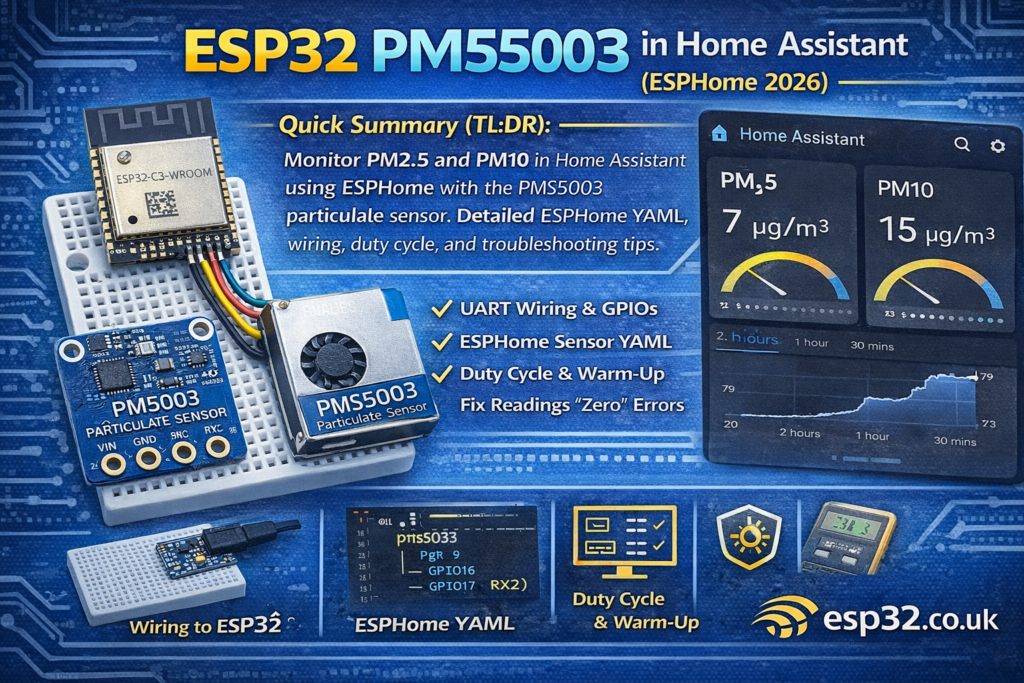
This guide shows how to connect a PMS5003 (PM2.5/PM10) particulate sensor to an ESP32 using UART, configure it in ESPHome, and display air-quality values in Home Assistant (optional MQTT). Includes wiring, safe GPIO choices, recommended update intervals, warm-up/duty cycling tips, and fixes for the most common “no data / zero readings / flaky UART” issues.
Particulate sensors like the Plantower PMS5003 are one of the best “bang for buck” air-quality upgrades you can add to Home Assistant. They measure:
- PM1.0
- PM2.5
- PM10
…and let you build automations like “turn on air purifier when PM2.5 rises”.
This guide is ESP32 + PMS5003 using ESPHome (with optional MQTT).
1) PMS5003 basics (what you’re measuring)
Most PMS5003 sensors output two “sets” of particulate readings:
- Factory / CF=1 values (often used for industrial calibration reference)
- Atmospheric / “standard” values (what you want for indoor air)
In ESPHome/Home Assistant you typically care about:
- PM2.5 (main indoor air metric)
- PM10 (bigger dust/pollen particles)
2) What you need
- ESP32 dev board (DevKitC, etc.)
- PMS5003 sensor (with cable or header)
- Jumper wires
- Optional: a 5V supply if your PMS5003 board wants 5V (many do)
3) Wiring (ESP32 ↔ PMS5003 UART)
3.1 PMS5003 pins you’ll use
Common pins on PMS5003 breakout/cable:
- VCC (often 5V recommended; depends on your breakout)
- GND
- TX (sensor transmits data out)
- RX (sensor receives commands; often not needed for basic reading)
- Sometimes: SET / EN / RESET pins (for sleep control)
3.2 Recommended ESP32 UART pins (use UART2)
Use UART2 so you don’t interfere with flashing/logs (UART0 is used by USB programming).
Recommended:
- ESP32 GPIO16 = RX2
- ESP32 GPIO17 = TX2
3.3 Wiring table (basic read-only setup)
| PMS5003 | ESP32 |
|---|---|
| VCC | 5V (or 3V3 if your board supports it) |
| GND | GND |
| TX | GPIO16 (ESP32 RX2) |
| RX | GPIO17 (ESP32 TX2) (optional) |
Important: TX/RX are cross-connected:
- Sensor TX → ESP32 RX
- Sensor RX → ESP32 TX
3.4 Logic level warning (read this)
Some PMS5003 boards output 3.3V UART, some output 5V UART.
The ESP32 RX pin is not 5V tolerant.
If your PMS TX is 5V, use a simple level shifter:
- A resistor divider (e.g., 10k/20k) on PMS TX → ESP32 RX
- Or a proper logic level shifter
If you don’t know: start with a divider. It’s cheap insurance.
4) ESPHome YAML (ESP32 + PMS5003)
4.1 Base node config
esphome:
  name: esp32-pms5003
  friendly_name: ESP32 PMS5003esp32:
  board: esp32dev
  framework:
    type: arduinologger:api:ota:wifi:
  ssid: !secret wifi_ssid
  password: !secret wifi_password
  ap:
    ssid: "PMS5003 Fallback"
    password: !secret ap_passwordcaptive_portal:
4.2 UART config
uart:
  id: uart_pms
  rx_pin: GPIO16
  tx_pin: GPIO17
  baud_rate: 9600
PMS5003 uses 9600 baud by default.
4.3 PMS5003 sensor config
sensor:
  - platform: pmsx003
    type: PMSX003
    uart_id: uart_pms
    pm_1_0:
      name: "PM1.0"
    pm_2_5:
      name: "PM2.5"
    pm_10_0:
      name: "PM10"
    update_interval: 30s
Notes:
pmsx003is the ESPHome platform used for Plantower-style sensors.update_interval: 30sis a good start for indoor monitoring.
5) Add it to Home Assistant
Once flashed:
- Go to Settings → Devices & Services → ESPHome
- Add the node
- You’ll get entities for PM1.0, PM2.5, PM10
Recommended dashboard cards:
- Entities card (PM2.5 + PM10)
- History graph (PM2.5 trends)
- Gauge for PM2.5 (optional)
6) Optional MQTT (if you want MQTT instead of API)
mqtt:
  broker: 192.168.1.10
  username: !secret mqtt_user
  password: !secret mqtt_pass
Most people use ESPHome API, but MQTT is fine if your stack is broker-first.
7) Duty cycling, fan wear, and “battery mode”
PMS5003 has a laser + fan. Running it 24/7:
- consumes more power
- slowly loads the sensor with dust
- wears the fan over time
Practical approach for home monitoring
- Run continuous if mains powered and you want real-time graphs
- Or “sample mode”:
- wake the sensor for 30–60 seconds
- read stable values
- sleep it for a few minutes
To do true sleep control you’ll need your sensor’s SET/EN pin or command mode (varies by board). Many people simply keep it always on for simplicity.
8) Troubleshooting (common PMS5003 problems)
8.1 All readings are zero
Common causes:
- TX/RX wired wrong (remember: TX→RX)
- Wrong UART pins selected
- Wrong baud rate (should be 9600)
- Sensor not powered correctly (many want 5V)
Fix:
- Re-check wiring and power
- Verify UART pins are correct
- Try only TX→RX first (RX optional)
8.2 “No data / sensor not updating”
Common causes:
- UART conflict with Serial logging (using GPIO1/3 by mistake)
- Long wires/noisy environment
- 5V UART level into ESP32 RX (ESP32 may survive briefly then act weird)
Fix:
- Use UART2 pins (GPIO16/17)
- Add level shifting if needed
- Shorten wires, keep GND solid
8.3 Spiky readings
Normal causes:
- fan turbulence, airflow bursts
- sensor warm-up
- dust events (cooking, vacuuming)
Fix:
- Add a filter:
filters:
  - sliding_window_moving_average:
      window_size: 6
      send_every: 3
Apply to PM2.5 and PM10.
8.4 Readings don’t match “official” AQI monitors
That’s normal. PMS sensors:
- are good for trends and relative changes
- are not a certified regulatory monitor
Use it for:
- “PM2.5 jumped when cooking”
- “Air purifier reduces PM2.5 back to baseline”
…not for legal compliance.
9) Useful automations in Home Assistant
9.1 Turn on air purifier when PM2.5 rises
Example logic:
- If PM2.5 > 15 µg/m³ for 5 minutes → turn purifier ON
- If PM2.5 < 8 µg/m³ for 10 minutes → turn purifier OFF
Add hysteresis and delays to avoid flapping.
9.2 Alert when air quality is bad
- PM2.5 above a threshold → phone notification
- Combine with “windows open” sensor for smarter logic