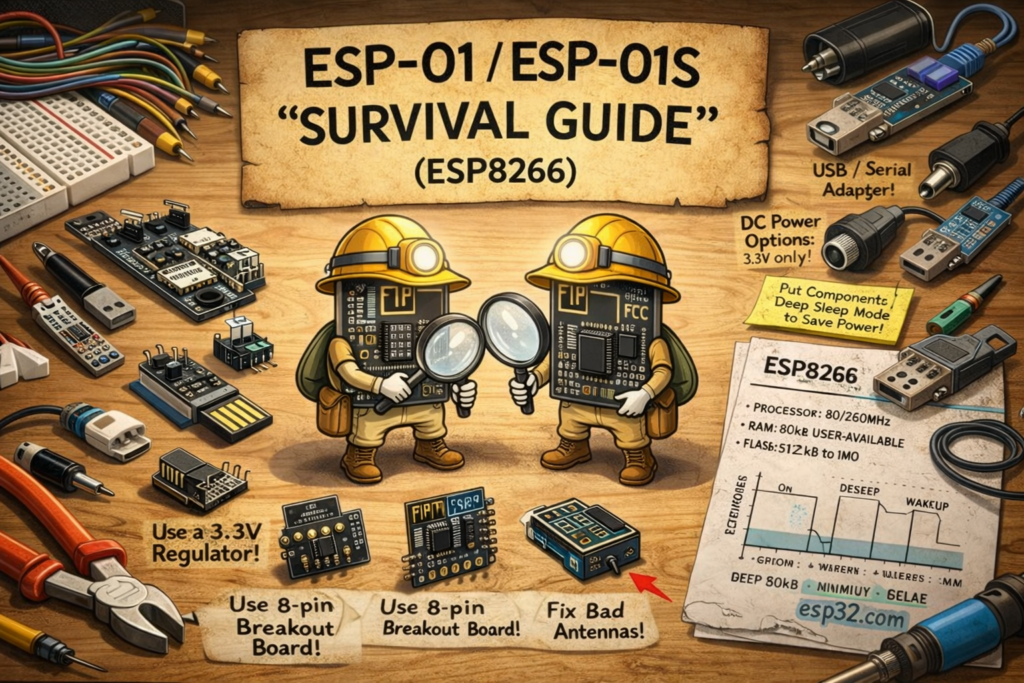
The ESP-01 (and ESP-01S) is the smallest, most annoying, and most misunderstood ESP8266 module. It can be incredibly useful (Wi-Fi bridge, tiny sensor node, UART→Wi-Fi device), but only if you wire it correctly and respect its boot pins.
This guide is the “no excuses” reference: pinout, power, boot straps, flashing, and cookbook examples.
1) ESP-01 vs ESP-01S (what changed)
- ESP-01: usually exposes 2 GPIO (GPIO0 and GPIO2).
- ESP-01S: often exposes more stable components and sometimes an extra GPIO (GPIO1/3 are UART, still not “free”), but functionally you should treat it the same: GPIO0 + GPIO2 are your real I/O.
Both are ESP8266 modules and behave the same for boot and flashing.
2) ESP-01 pinout (8 pins, and every one matters)
Typical ESP-01 header (top view, antenna at the top, pins down):
| Pin | Label (common) | What it is | Notes |
|---|---|---|---|
| 1 | GND | Ground | Must be solid ground |
| 2 | GPIO2 | I/O + boot strap | Must be HIGH at boot |
| 3 | GPIO0 | I/O + boot strap | LOW at boot = flashing mode |
| 4 | RX | UART0 RX | Used for flashing and serial |
| 5 | TX | UART0 TX | Used for flashing and serial |
| 6 | CH_PD / EN | Chip enable | Must be HIGH (3.3V) to run |
| 7 | RST | Reset | Active LOW |
| 8 | VCC | 3.3V power | 3.3V only |
3) Power: the #1 reason ESP-01 “doesn’t work”
3.1 Minimum power requirements (real life)
ESP8266 pulls high current spikes during Wi-Fi TX. If your 3.3V supply is weak, you’ll see:
- random resets
- boot loops
- flaky Wi-Fi
- “works on USB, fails on battery” behaviour
Do this:
- Use a proper 3.3V regulator rated at 500 mA (or at least 300 mA with good caps).
- Add caps close to the module:
- 100 µF electrolytic (or tantalum) across VCC↔GND
- 0.1 µF ceramic across VCC↔GND (as close as possible)
3.2 Don’t do this
- Don’t power ESP-01 from a random FTDI 3.3V pin unless you know it can deliver burst current.
- Don’t use a cheap AMS1117 board without caps and expect stability (sometimes it works, often it doesn’t).
4) Boot modes (strap pins) — the rules that decide everything
ESP8266 checks three strap pins at reset:
- GPIO0
- GPIO2
- GPIO15 (not exposed on ESP-01 header, but it exists internally on the module)
Normal boot (run your sketch)
You must have at reset:
- GPIO0 = HIGH
- GPIO2 = HIGH
- GPIO15 = LOW (handled internally on ESP-01, but don’t fight it)
Flashing mode (UART download mode)
You must have at reset:
- GPIO0 = LOW
- GPIO2 = HIGH
- GPIO15 = LOW
Practical meaning:
- GPIO0 decides “normal vs flashing”
- GPIO2 must be HIGH at boot, so don’t connect it to something that drags it LOW during reset (like an LED to GND without thinking).
5) “Minimum stable wiring” (ESP-01 that boots every time)
This is the wiring you want for a stable ESP-01 setup:
Required connections
- VCC → 3.3V
- GND → GND
- EN/CH_PD → 3.3V (pull-up)
- RST → 3.3V via pull-up (optional but recommended)
Recommended pull-ups (especially on bare modules)
- EN/CH_PD: pull up to 3.3V (e.g., 10k)
- RST: pull up to 3.3V (e.g., 10k)
- GPIO0: pull up to 3.3V (e.g., 10k) so it boots normally by default
- GPIO2: pull up to 3.3V (e.g., 10k) so it boots reliably
Many ESP-01 boards already have some of these resistors. Many clones don’t. If your ESP-01 is flaky, add them.
6) Flashing ESP-01 (wiring to USB-Serial adapter)
6.1 USB-Serial requirements
- Must support 3.3V logic (TX/RX at 3.3V).
- 5V TX will kill ESP8266 RX (or degrade it).
6.2 Wiring (USB-Serial ↔ ESP-01)
| USB-Serial | ESP-01 |
|---|---|
| TX | RX |
| RX | TX |
| GND | GND |
| 3.3V (if strong enough) | VCC (only if your adapter can supply enough current) |
If your adapter power is weak: use an external 3.3V regulator for VCC and keep common GND.
6.3 Enter flashing mode
- Make sure GPIO2 is HIGH
- Pull GPIO0 LOW
- Reset the module (toggle RST LOW then HIGH, or power-cycle)
- Upload firmware
After flashing:
- Release GPIO0 back to HIGH
- Reset again to run normally
6.4 Common upload errors (and what they usually mean)
- “Failed to connect” / “Timed out”
→ GPIO0 wasn’t LOW at reset, wiring RX/TX swapped, wrong COM port, bad power. - Garbage serial output
→ wrong baud rate or unstable power.
7) Using GPIO0 and GPIO2 safely (because they’re also boot pins)
You only have two real GPIO and they’re both boot-sensitive. So you must design external circuits that don’t mess up boot levels.
Safe-ish uses
- GPIO2: onboard LED (if wired correctly), reading a sensor input, I²C SDA/SCL (yes, possible but tight)
- GPIO0: a button input (to GND) if you understand it can force flashing mode if held at boot
Rule: avoid circuits that force LOW at boot
- If you connect an LED from GPIO2 to GND, it may pull the pin LOW at boot (depending on resistor/value and leakage) → boot failure.
- Better: connect LED from 3.3V to GPIO2 so the pin sinks current when LOW (inverted logic) — and you still keep boot HIGH default.
8) Cookbook: quick Arduino examples (ESP8266 core)
Assume Arduino IDE with ESP8266 board package installed.
Select board: “Generic ESP8266 Module” (common for ESP-01) and set:
- Flash size: match your module (often 1M or 4M)
- Upload speed: 115200 (start conservative)
Recipe 0: Serial “hello” (always start here)
void setup() {
  Serial.begin(115200);
  delay(200);
  Serial.println();
  Serial.println("ESP-01 serial OK");
}

void loop() {
  delay(1000);
  Serial.println("tick");
}
Recipe 1: Blink LED on GPIO2 (with note about wiring)
const int LED = 2; // GPIO2

void setup() {
  pinMode(LED, OUTPUT);
}

void loop() {
  digitalWrite(LED, HIGH);
  delay(300);
  digitalWrite(LED, LOW);
  delay(300);
}
If your LED is wired 3.3V → resistor → GPIO2, the logic is inverted (LOW = ON).
Recipe 2: Wi-Fi connect + print IP
#include <ESP8266WiFi.h>

const char* SSID = "YOUR_SSID";
const char* PASS = "YOUR_PASS";

void setup() {
  Serial.begin(115200);
  delay(200);

  WiFi.begin(SSID, PASS);
  Serial.print("Connecting");

  for (int i = 0; i < 40 && WiFi.status() != WL_CONNECTED; i++) {
    delay(250);
    Serial.print(".");
  }
  Serial.println();

  if (WiFi.status() == WL_CONNECTED) {
    Serial.print("IP: ");
    Serial.println(WiFi.localIP());
  } else {
    Serial.println("WiFi failed (power or credentials)");
  }
}

void loop() {}
Recipe 3: Minimal web server (useful ESP-01 demo)
#include <ESP8266WiFi.h>
#include <ESP8266WebServer.h>

const char* SSID = "YOUR_SSID";
const char* PASS = "YOUR_PASS";
ESP8266WebServer server(80);

void setup() {
  Serial.begin(115200);
  delay(200);

  WiFi.begin(SSID, PASS);
  while (WiFi.status() != WL_CONNECTED) { delay(300); Serial.print("."); }
  Serial.println();
  Serial.println(WiFi.localIP());

  server.on("/", []() {
    server.send(200, "text/plain", "ESP-01 says hi");
  });

  server.begin();
}

void loop() {
  server.handleClient();
}
9) ESP-01 as a “Wi-Fi modem” (AT firmware use case)
A huge amount of ESP-01 usage is still:
- leave Espressif AT firmware on it
- connect it to another MCU via UART
- use AT commands to join Wi-Fi / TCP / HTTP
If you go this route:
- UART wiring and stable power matter more than anything
- Use 115200 or 9600 depending on the AT build
- Don’t share the UART with other chatty debug output
(If you want, I can write a dedicated “ESP-01 AT firmware + examples” article too.)
10) Troubleshooting checklist (fast)
“It doesn’t boot”
- EN/CH_PD must be HIGH
- GPIO2 must be HIGH at reset
- GPIO0 must be HIGH at reset (unless flashing)
- Power must be stable (add caps)
“It flashes but won’t run”
- You forgot to release GPIO0 back HIGH after flashing
- GPIO2 is being pulled LOW by your circuit
- Brownout/weak supply during Wi-Fi start
“It connects to Wi-Fi then resets”
- Power supply or regulator can’t handle burst current
- Add 100 µF + 0.1 µF near VCC/GND
- Try powering from a real 3.3V regulator, not USB-serial 3.3V pin