A simple example of sending multiple integers from one board to another
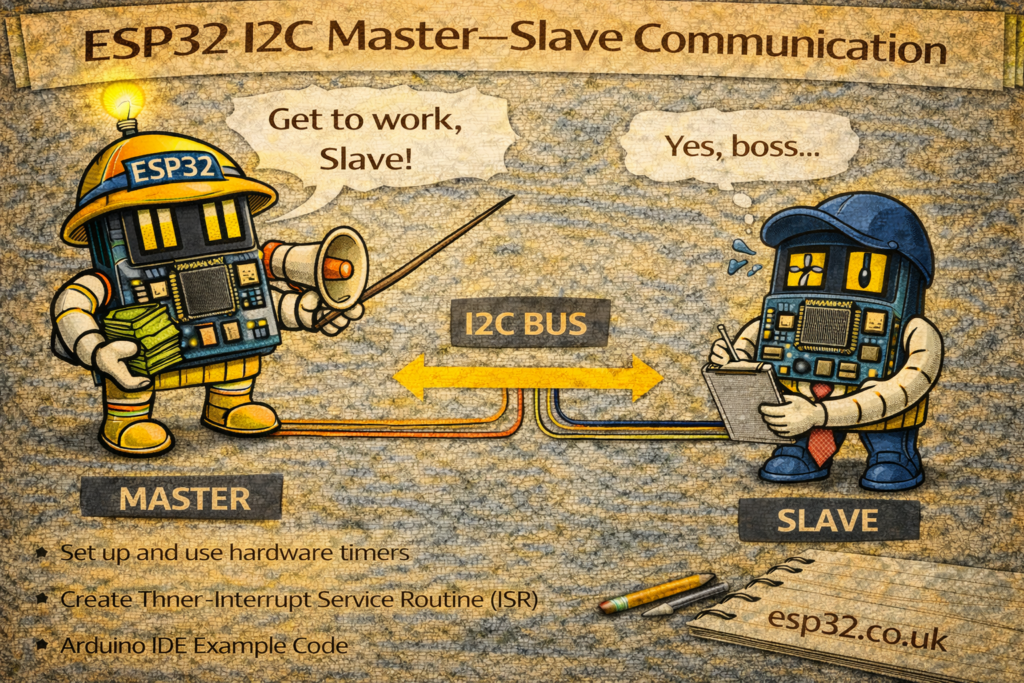
The I2C (Inter-Integrated Circuit) bus allows two wires—SDA and SCL—to connect multiple devices.
Each device can act as a master, slave, or both. In most projects, one board sends commands (master) and the other listens (slave).
This tutorial shows how to send an array of 4 integers from a master board to a slave board using the Wire library.
It works on Arduino, ESP32, and most I2C-compatible microcontrollers.
1. Wiring
Use pull-ups (typically 4.7kΩ) if your board does not have them built-in.
| Master | Slave |
|---|---|
| SDA → | SDA |
| SCL → | SCL |
| GND → | GND |
Both boards must share ground.
2. Master Code – Sending Data
The master sends four integers ({100, 2000, 30000, 14}) to a slave with address 0x08.
#include <Wire.h>

void setup() {
  Wire.begin();          // I2C master
  Serial.begin(115200);
}

void loop() {
  delay(2000);           // Slow down sending

  int data[4] = {100, 2000, 30000, 14};

  Wire.beginTransmission(8);                 // Slave address = 8
  Wire.write((uint8_t*)data, sizeof(data));  // Send raw bytes
  Wire.endTransmission();

  Serial.println("Data sent to slave.");
}
How it works
Wire.begin()→ Initializes the I2C bus as masterWire.beginTransmission(8)→ Opens communication to slave address 8Wire.write()→ Sends all 16 bytes of the integer arrayWire.endTransmission()→ Closes transmission and sends the packet
3. Slave Code – Receiving Data
The slave listens on address 8 and prints the four integers when they arrive.
#include <Wire.h>

void setup() {
  Wire.begin(8);                   // I2C slave at address 8
  Wire.onReceive(receiveEvent);    // Callback when master sends data
  Serial.begin(115200);
}

void loop() {
  // Nothing required here
}

void receiveEvent(int numBytes) {
  Serial.print("Bytes Received: ");
  Serial.println(numBytes);

  // Expecting 4 integers = 4 * 4 bytes = 16 bytes
  if (numBytes >= 4 * sizeof(int)) {
    int receivedData[4];

    for (int i = 0; i < 4; i++) {
      uint8_t bytes[sizeof(int)];

      // Read the 4 bytes belonging to this integer
      for (int j = 0; j < sizeof(int); j++) {
        bytes[j] = Wire.read();
      }

      receivedData[i] = *((int*)bytes);
    }

    Serial.println("Received data:");
    for (int i = 0; i < 4; i++) {
      Serial.print(receivedData[i]);
      Serial.print(" ");
    }
    Serial.println();
  }
}
How it works
Wire.begin(8)→ Sets the slave addressWire.onReceive()→ Registers a callback functionreceiveEvent()→ Executes automatically when the master sends data- Data is reassembled from raw bytes back into
intvariables
4. Important Notes
✔ I2C is byte-based, not integer-based
You can send anything (int, float, structs, arrays) by converting it to bytes.
✔ Both boards must use same data type size
On ESP32 and Arduino:int = 4 bytes (OK)
✔ Slave code runs its callback outside loop()
Do not use delays or long operations in receiveEvent().
✔ For debugging:
Use:
Serial.println(Wire.read(), HEX);
to see the raw bytes.
5. Summary
This example demonstrates a clean and reliable way to transfer multiple variables over I2C:
- One board acts as master, sending raw bytes.
- Another board acts as slave, receiving and decoding the bytes.
- Suitable for sensor hubs, multi-processor projects, or ESP32 + Arduino hybrids.