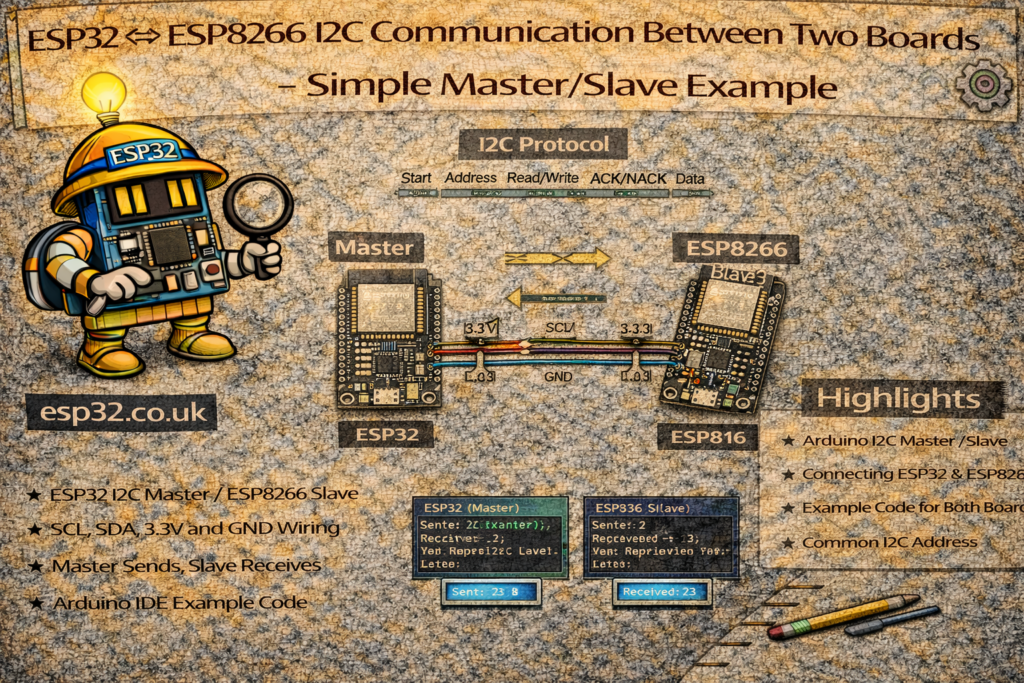
I²C is one of the easiest ways to send data between microcontrollers. ESP32 and ESP8266 both support hardware I²C, and you can connect them directly using just two wires: SDA and SCL and common GND.
This guide shows a complete working example of sending an array of integers from one board (Master) to another board (Slave).
The code works on ESP32 → ESP32, ESP32 → ESP8266, ESP8266 → ESP8266, ESP8266 → ESP32.
1. Wiring Connections
I²C uses two lines:
| Signal | ESP32 Pin | ESP8266 Pin (NodeMCU) |
|---|---|---|
| SDA | GPIO 21 | D2 (GPIO 4) |
| SCL | GPIO 22 | D1 (GPIO 5) |
| GND | GND | GND |
Important:
Both boards must share the same GND.
No resistors needed—both boards already have internal pullups.
2. About This Example
The master sends 4 integers:
100
2000
30000
14
The slave receives these integers and prints them on Serial.
The important part:
We send the raw bytes of the integer array and reconstruct it on the other side.
3. Master Code (ESP32 or ESP8266)
This board sends 4 integers to I²C address 0x08.
#include <Wire.h>

void setup() {
  Wire.begin();          // Start I2C as master
  Serial.begin(115200);
}

void loop() {
  delay(2000);

  int data[4] = {100, 2000, 30000, 14};

  Wire.beginTransmission(8);               // Slave address 8
  Wire.write((uint8_t*)data, sizeof(data)); // Send raw bytes
  Wire.endTransmission();

  Serial.println("Data sent to slave.");
}
This code works the same on ESP32 and ESP8266.
4. Slave Code (ESP32 or ESP8266)
This board listens at address 0x08.
It reads the incoming bytes and reconstructs the 4 integers.
#include <Wire.h>

void setup() {
  Wire.begin(8);                      // Start I2C as slave at address 8
  Wire.onReceive(receiveEvent);       // Register receive handler
  Serial.begin(115200);
}

void loop() {
  // Nothing required here
}

void receiveEvent(int numBytes) {
  Serial.print("Bytes Received: ");
  Serial.println(numBytes);

  if (numBytes >= 4 * sizeof(int)) {
    int receivedData[4];

    for (int i = 0; i < 4; i++) {
      uint8_t bytes[sizeof(int)];
      for (int j = 0; j < sizeof(int); j++) {
        bytes[j] = Wire.read();
      }
      receivedData[i] = *((int*)bytes);
    }

    Serial.println("Received data:");
    for (int i = 0; i < 4; i++) {
      Serial.print(receivedData[i]);
      Serial.print(" ");
    }
    Serial.println();
  }
}
This also works on ESP32 and ESP8266.
5. Notes & Common Issues
1. Voltage Levels
ESP32 and ESP8266 both run at 3.3V, so no level shifting is required.
2. Address Must Match
Both boards must use the same slave address:
Wire.beginTransmission(8);
Wire.begin(8);
3. I²C Speed
Default speed is 100 kHz.
You can increase it if needed:
Wire.setClock(400000);
4. Cable Length
Keep SDA/SCL wires short (< 50cm).
6. Debugging Tips
If slave receives no data:
✔ Check GND is connected
✔ Swap SDA/SCL if unsure
✔ Use an I²C scanner to confirm detectability
✔ Check pullups if using long wires
7. When to Use I²C Between Microcontrollers?
I²C is ideal for:
- Sending small structured data (sensor values, integers, flags)
- Master → multiple slaves (ESP32 + sensors)
- Short distance (same PCB or project box)
If you need long distance or high speed, ESP-NOW or UART is better.
Conclusion
This is the simplest way to transmit structured data over I²C between ESP32 and ESP8266. The example sends a full array of integers with no complications and works reliably on all combinations of ESP boards.