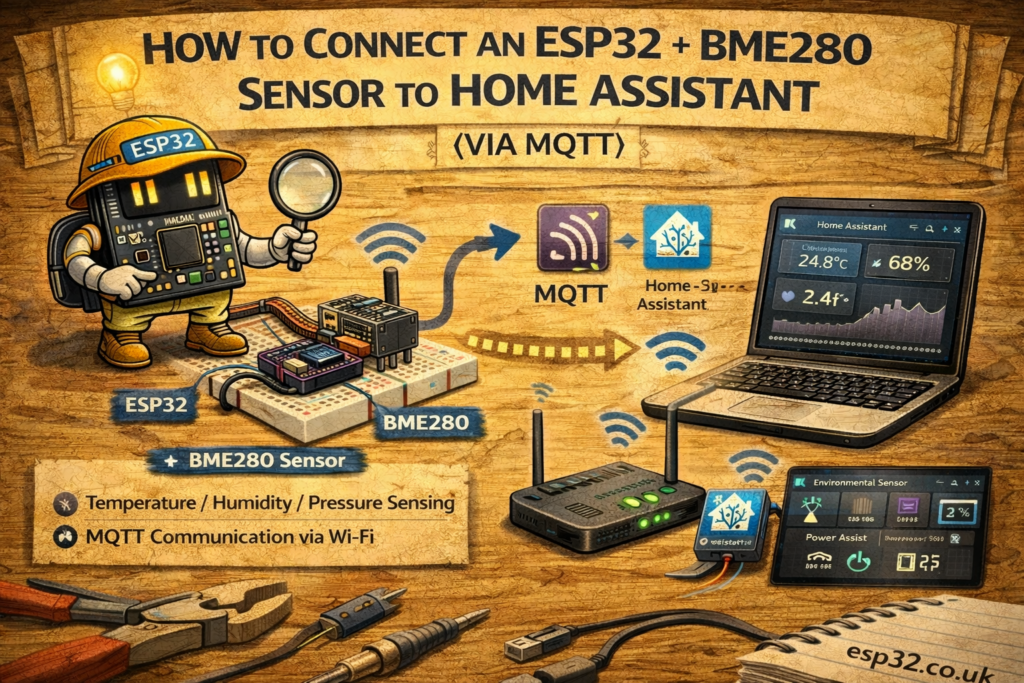
The BME280 is one of the easiest sensors to integrate into Home Assistant for live temperature, humidity, and pressure monitoring. In this guide, we show you how to install the sensor, flash the ESP32, configure MQTT, and view the readings inside Home Assistant.
This example uses standard Arduino libraries, MQTT, and Home Assistant’s built-in MQTT integration.
1. What You Need
- ESP32 development board
- BME280 (I²C version)
- 4 jumper wires
- Home Assistant running on your network
- MQTT broker (built-in Mosquitto or external)
- Arduino IDE with ESP32 board support
2. Wiring the ESP32 to BME280
| BME280 | ESP32 |
|---|---|
| VIN | 3.3V |
| GND | GND |
| SCL | GPIO 22 |
| SDA | GPIO 21 |
This wiring matches the ESP32’s default I²C pins.
3. Installing Required Arduino Libraries
Open Arduino IDE → Tools → Manage Libraries and install:
- Adafruit BME280
- Adafruit Unified Sensor
- PubSubClient
- ESP32 WiFi (already included)
4. ESP32 Code (Ready to Flash)
Below is the full working sketch.
Important: Replace WiFi and MQTT credentials with yours.
#include <WiFi.h>
#include <PubSubClient.h>
#include <Wire.h>
#include <Adafruit_BME280.h>

#define WIFI_SSID "wifi"
#define WIFI_PASS "password"
#define MQTT_SERVER "192.168.0.10"   // Home Assistant IP
#define MQTT_PORT 1883
#define MQTT_USER "user"
#define MQTT_PASS "password"

Adafruit_BME280 bme;
WiFiClient espClient;
PubSubClient client(espClient);

void setup() {
  Serial.begin(115200);
  WiFi.begin(WIFI_SSID, WIFI_PASS);
  while (WiFi.status() != WL_CONNECTED) {
    delay(500);
    Serial.print(".");
  }
  Serial.println("\nWiFi connected");

  client.setServer(MQTT_SERVER, MQTT_PORT);

  if (!bme.begin(0x76)) {
    Serial.println("BME280 not found!");
    while (1);
  }
}

void loop() {
  if (!client.connected()) {
    reconnect();
  }
  client.loop();

  float temp = bme.readTemperature();
  float hum = bme.readHumidity();
  float press = bme.readPressure();
  float alt = bme.readAltitude(1013.25);

  char payload[100];
  snprintf(payload, sizeof(payload), "{\"temperature\":%.2f,\"humidity\":%.2f,\"Pressure\":%.2f,\"Altitude\":%.2f}",
           temp, hum, press, alt);

  client.publish("home/livingroom/sensor", payload);

  delay(10000);  // every 10 seconds
}

void reconnect() {
  while (!client.connected()) {
    if (client.connect("esp32_livingroom", MQTT_USER, MQTT_PASS)) {
      Serial.println("Connected to MQTT");
    } else {
      delay(2000);
    }
  }
}
This publishes a JSON payload every 10 seconds to:
home/livingroom/sensor
5. Configure Home Assistant
A. Add MQTT Integration (if not already)
Home Assistant → Settings → Devices & Services → Add Integration → MQTT
Set your broker IP, username, and password.
B. Add MQTT Sensor Definitions
Edit configuration.yaml:
sensor:
  - platform: mqtt
    name: "Living Room Temperature"
    state_topic: "home/livingroom/sensor"
    unit_of_measurement: "°C"
    value_template: "{{ value_json.temperature }}"

  - platform: mqtt
    name: "Living Room Humidity"
    state_topic: "home/livingroom/sensor"
    unit_of_measurement: "%"
    value_template: "{{ value_json.humidity }}"

  - platform: mqtt
    name: "Living Room Pressure"
    unit_of_measurement: "Pa"
    state_topic: "home/livingroom/sensor"
    value_template: "{{ value_json.Pressure }}"

  - platform: mqtt
    name: "Living Room Altitude"
    unit_of_measurement: "m"
    state_topic: "home/livingroom/sensor"
    value_template: "{{ value_json.Altitude }}"
Save → Restart Home Assistant.
You will now see 4 new sensors.
6. View Your Sensor in Home Assistant
Go to:
Overview → Add Card → Sensor
Choose your new sensors:
- Living Room Temperature
- Living Room Humidity
- Living Room Pressure
- Living Room Altitude
You now have a live dashboard.
7. Troubleshooting
BME280 Not Found
- Check wiring
- Confirm address: most boards use
0x76, some use0x77
No MQTT Data
- Check broker IP
- Check username/password
- Use MQTT Explorer to verify messages
WiFi Fails to Connect
- Ensure 2.4 GHz WiFi is enabled
- ESP32 cannot connect to WPA3-only networks
8. Final Notes
This setup works perfectly for:
- Multiple rooms
- Outdoor sensors
- Climate dashboards
- Automations (fans, AC, HVAC)
The ESP32 + BME280 combo is stable, accurate, and cheap—ideal for Home Assistant installations.


Thanks a lot for the how-to.
I worked on it for a direct intecration into IOBROKER, here is my skript if you would like to publish also:
Kind regards Harry
#include
#include
#include
#include
#define WIFI_SSID “SSID”
#define WIFI_PASS “PASSWORD”
#define MQTT_SERVER “192.168.1.10” // IOBroker MQTT
#define MQTT_PORT 1883
#define MQTT_USER “USER”
#define MQTT_PASS “PASS”
Adafruit_BME280 bme;
WiFiClient espClient;
PubSubClient client(espClient);
void setup() {
Serial.begin(115200);
WiFi.begin(WIFI_SSID, WIFI_PASS);
Serial.print(“Connecting WiFi”);
while (WiFi.status() != WL_CONNECTED) {
delay(500);
Serial.print(“:”);
}
Serial.println(“\nWiFi connected”);
Serial.print(“IP-Adresse: “);
Serial.println(WiFi.localIP());
client.setServer(MQTT_SERVER, MQTT_PORT);
Wire.begin(21, 22);
if (!bme.begin(0x76)) {
Serial.println(“Versuche 0x77…”);
if (!bme.begin(0x77)) {
Serial.println(“BME280 nicht gefunden!”);
while (1);
}
}
}
void loop() {
if (!client.connected()) {
reconnect();
}
client.loop();
float temp = bme.readTemperature();
float hum = bme.readHumidity();
float press = bme.readPressure() / 100.0F; // Umrechnung in hPa
float alt = bme.readAltitude(1013.25);
client.publish(“ESP32/Cellar/temperature”, String(temp).c_str());
client.publish(“ESP32/Cellar/humidity”, String(hum).c_str());
client.publish(“ESP32/Cellar/pressure”, String(press).c_str());
//client.publish(“ESP32/Cellar/altitude”, String(alt).c_str());
delay(10000); // every 10 seconds
}
void reconnect() {
while (!client.connected()) {
if (client.connect(“esp32_Keller”, MQTT_USER, MQTT_PASS)) {
Serial.println(“Connected to MQTT”);
} else {
delay(2000);
}
}
}