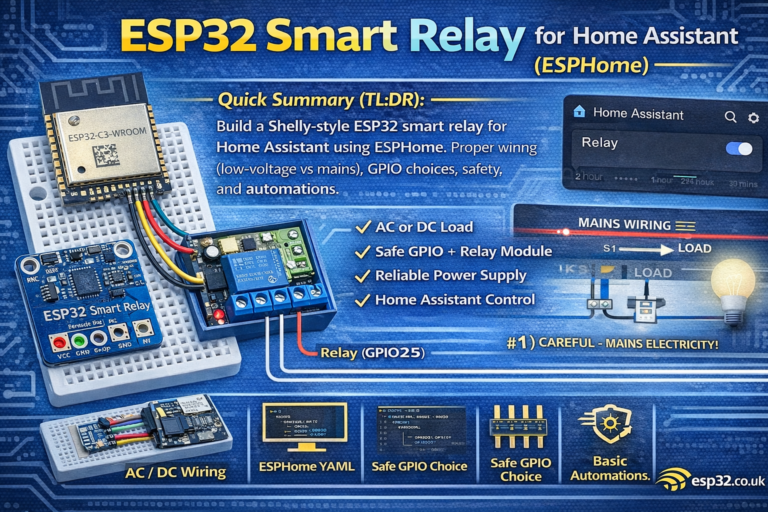
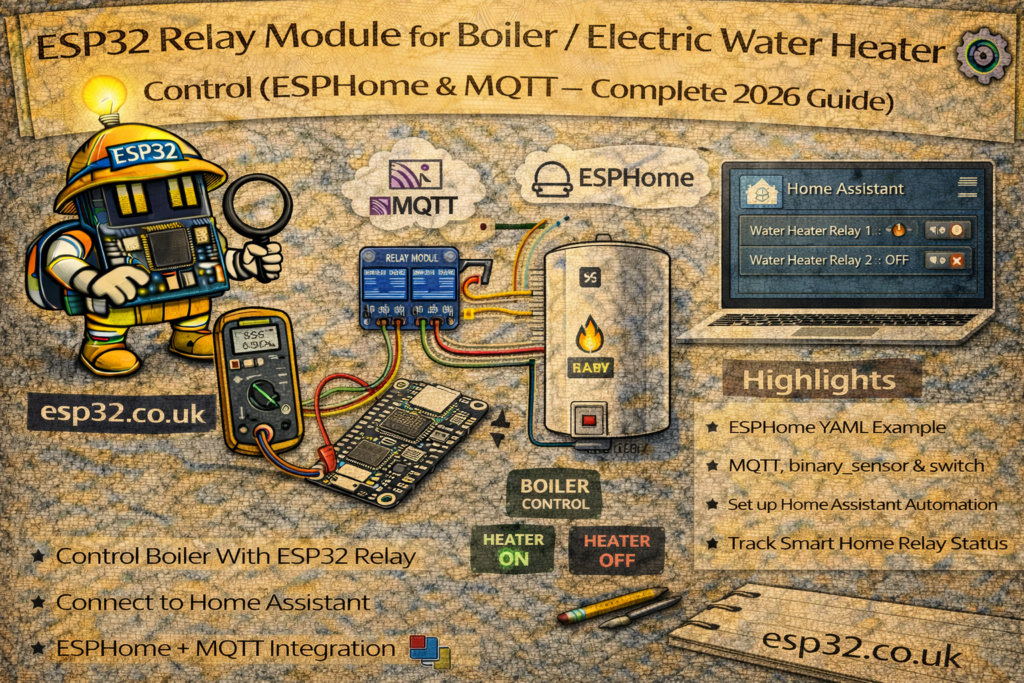
A simple ESP32 + relay module can turn almost any boiler or electric water heater into a smart, automated device controlled by Home Assistant.
With the right wiring and automations you can:
- Run hot water only when it’s actually needed
- Use schedules and scenes instead of manual switches
- Prevent the boiler from running all night by mistake
- Monitor and control it from your phone, locally, without any cloud
This guide covers both ESPHome and MQTT (Arduino) approaches and focuses on two common wiring scenarios:
- Dry-contact / thermostat input control (preferred and safest)
- Direct 230 V switching through a relay or contactor
1. Safety First: Mains Voltage Warning
Boilers and electric water heaters are usually connected to 230 V / 120 V mains.
Incorrect wiring can cause electric shock, fire, or damage to the appliance.
- If you are not fully comfortable and qualified to work with mains, use a licensed electrician.
- Whenever possible, use the boiler’s low-voltage thermostat / control input (dry contact) instead of switching mains directly.
- Use DIN-rail enclosures, proper terminals and cable management.
- Always disconnect power and verify with a tester before touching any wiring.
The examples below are for educational purposes. Adapt them to local regulations and your specific equipment.
2. Hardware Options
2.1 Common Parts
- ESP32 DevKit board
- Relay module (1-channel is enough)
- 3.3 V or 5 V module with optocoupler and screw terminals
- 5 V or 12 V power supply (for the relay and ESP32 if desired)
- DIN-rail or junction box enclosure
- Wires, ferrules, screw terminals
2.2 Option A – Dry-Contact / Thermostat Input (Recommended)
Many boilers and electric water heaters expose two low-voltage terminals labelled e.g.:
ROOM THERMOSTATCOM / NOT1 / T2
These are simply a switch input: when closed, the boiler runs; when open, it stops.
In this case, the relay on the ESP32 only behaves like a thermostat:
- COM and NO of the relay go across these two control terminals.
- No mains current flows through the ESP32 hardware.
2.3 Option B – Direct 230 V Load Switching
If there is no thermostat input and the heater is wired directly:
- Live line goes through the relay (or a bigger contactor controlled by the ESP32 relay).
- Neutral and Earth go directly to the heater.
For higher-power heaters, use a contactor or solid-state relay rated for the load; let the small ESP32 relay only switch the coil of that contactor.
3. Wiring Examples
3.1 Low-Voltage / Dry Contact Wiring
Relay module side:
- Relay COM → Boiler thermostat terminal 1
- Relay NO → Boiler thermostat terminal 2
ESP32 side (example):
- Relay module VCC → 5 V (or 3.3 V, depending on module)
- Relay module GND → ESP32 GND
- Relay module IN → ESP32 GPIO 23
The boiler’s internal electronics still power the control input; the ESP32 only “shorts” or “opens” those terminals through the relay.
3.2 230 V Line Switching (Conceptual)
Only if you know what you’re doing.
- Mains Live (L) from breaker → Relay COM
- Relay NO → Heater Live input
- Mains Neutral (N) → Heater Neutral
- Earth → Heater Earth (unchanged)
Again, for large loads, replace the heater’s “switch” with a DIN contactor and drive its coil with the ESP32 relay.
METHOD 1 – ESPHome Relay Control
ESPHome makes the ESP32 relay appear as a standard switch in Home Assistant with almost no YAML on the HA side.
4.1 Basic ESPHome Configuration
esphome:
  name: esp32-boiler
  platform: ESP32
  board: esp32dev

wifi:
  ssid: "YOUR_WIFI"
  password: "YOUR_PASSWORD"

logger:
api:
ota:

# Relay on GPIO23
switch:
  - platform: gpio
    name: "Boiler Relay"
    pin: 23
    id: boiler_relay
    restore_mode: RESTORE_DEFAULT_OFF
Upload this to the ESP32. Home Assistant will auto-discover a switch.boiler_relay entity.
restore_mode: RESTORE_DEFAULT_OFFensures the boiler stays off after power loss until Home Assistant or ESPHome explicitly turns it on again.
4.2 Optional: Local Safety Timer in ESPHome
Example: never allow the boiler to run more than 2 hours continuously.
interval:
  - interval: 10min
    then:
      - lambda: |-
          static uint32_t minutes_on = 0;
          if (id(boiler_relay).state) {
            minutes_on += 10;
            if (minutes_on >= 120) {  // 2 hours
              id(boiler_relay).turn_off();
              minutes_on = 0;
            }
          } else {
            minutes_on = 0;
          }
METHOD 2 – MQTT Relay (Arduino + Home Assistant)
For users who prefer the classic ESP32 + Arduino + PubSubClient approach, the relay can be controlled via MQTT with a minimal sketch and a few lines of configuration.yaml.
5.1 Home Assistant configuration.yaml – MQTT Switch
mqtt:
  switch:
    - name: "Boiler"
      command_topic: "home/boiler/relay/set"
      state_topic: "home/boiler/relay/state"
      payload_on: "ON"
      payload_off: "OFF"
      state_on: "ON"
      state_off: "OFF"
      retain: true
command_topicis where Home Assistant sends commands.state_topicis where the ESP32 publishes its actual state.retain: truemakes the last state remembered by the broker (useful after HA restarts).
5.2 ESP32 Arduino Sketch (Relay + MQTT)
#include <WiFi.h>
#include <PubSubClient.h>

#define RELAY_PIN   23

#define WIFI_SSID   "YOUR_WIFI"
#define WIFI_PASS   "YOUR_PASSWORD"
#define MQTT_SERVER "192.168.0.10"

WiFiClient espClient;
PubSubClient client(espClient);

void setRelay(bool on) {
  digitalWrite(RELAY_PIN, on ? LOW : HIGH); // depends on module (active low)
  client.publish("home/boiler/relay/state", on ? "ON" : "OFF", true);
}

void callback(char* topic, byte* payload, unsigned int length) {
  String cmd;
  for (unsigned int i = 0; i < length; i++) cmd += (char)payload[i];

  if (String(topic) == "home/boiler/relay/set") {
    cmd.trim();
    if (cmd.equalsIgnoreCase("ON"))  setRelay(true);
    if (cmd.equalsIgnoreCase("OFF")) setRelay(false);
  }
}

void setup() {
  pinMode(RELAY_PIN, OUTPUT);
  // Ensure boiler is OFF at startup
  setRelay(false);

  WiFi.begin(WIFI_SSID, WIFI_PASS);
  while (WiFi.status() != WL_CONNECTED) delay(500);

  client.setServer(MQTT_SERVER, 1883);
  client.setCallback(callback);
}

void loop() {
  if (!client.connected()) {
    while (!client.connected()) {
      client.connect("ESP32_Boiler");
    }
    client.subscribe("home/boiler/relay/set");
  }

  client.loop();
}
Adjust the digitalWrite polarity depending on whether the relay is active LOW or HIGH.
6. Home Assistant Automations for Boiler / Water Heater
Once the relay entity exists (either switch.boiler_relay via ESPHome or switch.boiler via MQTT), Home Assistant can handle the scheduling and safety logic.
6.1 Simple Time-Based Schedule
Example: heat water every morning 06:00–07:00 and evening 19:00–20:00.
automation:
  - alias: "Boiler Schedule Morning"
    trigger:
      - platform: time
        at: "06:00:00"
    action:
      - service: switch.turn_on
        target:
          entity_id: switch.boiler

  - alias: "Boiler Schedule Morning Off"
    trigger:
      - platform: time
        at: "07:00:00"
    action:
      - service: switch.turn_off
        target:
          entity_id: switch.boiler

  - alias: "Boiler Schedule Evening"
    trigger:
      - platform: time
        at: "19:00:00"
    action:
      - service: switch.turn_on
        target:
          entity_id: switch.boiler

  - alias: "Boiler Schedule Evening Off"
    trigger:
      - platform: time
        at: "20:00:00"
    action:
      - service: switch.turn_off
        target:
          entity_id: switch.boiler
6.2 Temperature-Based Control (with Tank Sensor)
If the hot water tank has a DS18B20 or similar sensor (e.g. sensor.boiler_temperature), the boiler can be controlled like a thermostat.
automation:
  - alias: "Boiler Heat When Tank Cold"
    trigger:
      - platform: numeric_state
        entity_id: sensor.boiler_temperature
        below: 45
    condition:
      - condition: state
        entity_id: switch.boiler
        state: "off"
    action:
      - service: switch.turn_on
        target:
          entity_id: switch.boiler

  - alias: "Boiler Off When Tank Hot"
    trigger:
      - platform: numeric_state
        entity_id: sensor.boiler_temperature
        above: 55
    condition:
      - condition: state
        entity_id: switch.boiler
        state: "on"
    action:
      - service: switch.turn_off
        target:
          entity_id: switch.boiler
This creates a 10 °C hysteresis band between 45 °C and 55 °C.
6.3 Maximum Runtime Safety Cutoff
Protect against a stuck sensor or automation:
  - alias: "Boiler Auto-Off After 2 Hours"
    trigger:
      - platform: state
        entity_id: switch.boiler
        to: "on"
        for: "02:00:00"
    action:
      - service: switch.turn_off
        target:
          entity_id: switch.boiler
6.4 Manual Boost Button
An input_boolean can be used as a “1-hour boost” feature.
input_boolean:
  boiler_boost:
    name: Boiler 1h Boost
    icon: mdi:water-boiler

automation:
  - alias: "Boiler Boost On"
    trigger:
      - platform: state
        entity_id: input_boolean.boiler_boost
        to: "on"
    action:
      - service: switch.turn_on
        target:
          entity_id: switch.boiler
      - delay: "01:00:00"
      - service: switch.turn_off
        target:
          entity_id: switch.boiler
      - service: input_boolean.turn_off
        target:
          entity_id: input_boolean.boiler_boost
Add input_boolean.boiler_boost to a dashboard as a big button.
7. Troubleshooting & Best Practices
- Boiler doesn’t start / stop:
Double-check whether the boiler expects a closed circuit or open circuit and which relay terminals (NO/NC) you are using. - Relay always ON after reboot:
Ensure ESPHome usesrestore_mode: RESTORE_DEFAULT_OFFor the Arduino code explicitly sets the initial state to OFF. - ESP32 resets when relay clicks:
Use a separate supply for the relay coil if possible, and add proper decoupling capacitors. For mains switching, always isolate low-voltage and high-voltage wiring. - High-power heaters:
Use the ESP32 relay to control the coil of a DIN contactor, not the full heater current directly.
Conclusion
Using an ESP32 relay module as a smart boiler / water heater controller is a straightforward and powerful project:
- ESPHome offers quick integration and easy configuration
- MQTT gives full control for custom firmware fans
- Home Assistant handles scheduling, safety and user-facing controls
With proper wiring and safeguards, the system can save energy, add convenience, and integrate the boiler seamlessly into the rest of the smart home.