Controlling a DC fan using PWM (Pulse Width Modulation) is an easy and cost-effective way to cool network cabinets, 3D printer enclosures, AV racks, routers, amplifiers, or any electronics that require temperature-activated airflow.
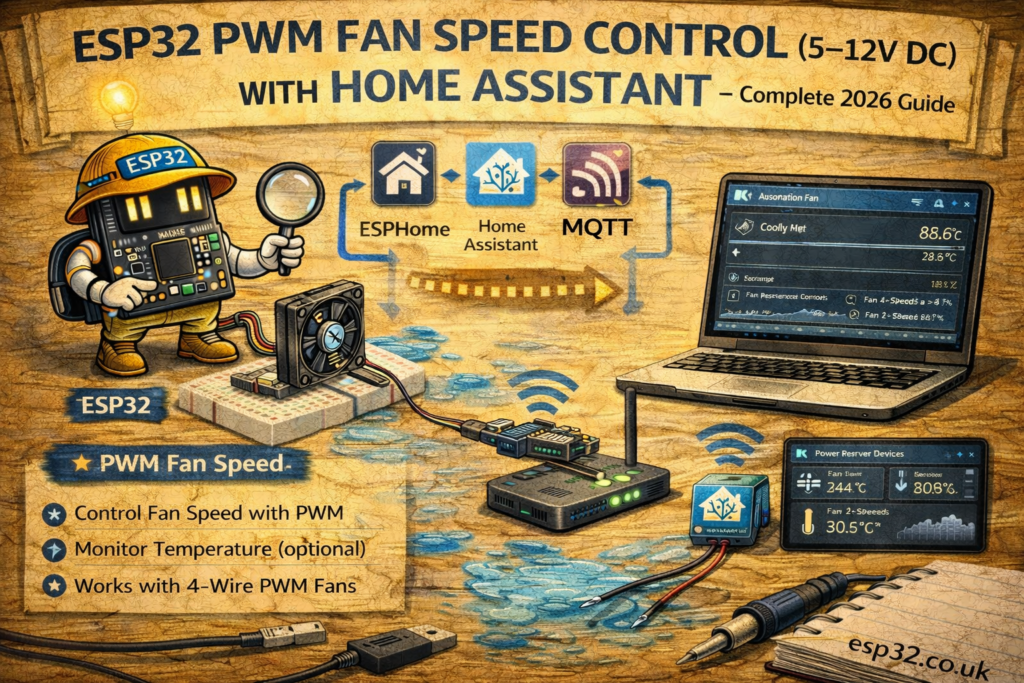
This guide explains how to use an ESP32 to control the speed of a 5V, 12V, or 24V DC fan using:
- ESPHome (automatic Home Assistant integration)
- MQTT (manual integration for advanced users)
PWM fans offer quiet operation, reduced energy consumption, and dynamic speed control based on temperature sensors such as DS18B20, SHT45, BME280, or any MQTT/ESPHome sensor.
1. Hardware Required
For 5V–12V DC PWM fan control:
- ESP32 DevKit
- 12V DC fan (e.g., PC fan)
- NPN transistor (2N2222) or N-Channel MOSFET (IRLZ44N recommended)
- Flyback diode (1N4007 or 1N4148)
- 10k resistor (gate/base resistor)
- 12V DC power supply
- Jumper wires
Recommended (if controlling >1 fan):
- MOSFET module (prebuilt MOSFET driver board)
- RC low-pass filter (optional)
2. PWM Fan Wiring Diagram
Using NPN Transistor (for fans up to ~300mA)
ESP32 GPIO25 → 10k resistor → Transistor Base
Transistor Emitter → GND
Transistor Collector → Fan Negative
Fan Positive → 12V
Flyback diode across fan terminals
Using MOSFET (recommended for >300mA fans)
ESP32 GPIO25 → 10k resistor → MOSFET Gate
MOSFET Source → GND
MOSFET Drain → Fan Negative
Fan Positive → 12V
Diode across fan
ESP32 GND and 12V power GND must be common.
METHOD 1 — ESPHome PWM Fan Control
ESPHome supports PWM output using the output: and fan: platforms.
3. ESPHome PWM Fan Control YAML
esphome:
  name: esp32-fan
  platform: ESP32
  board: esp32dev

wifi:
  ssid: "YOUR_WIFI"
  password: "YOUR_PASSWORD"

logger:
api:
ota:

output:
  - platform: ledc
    pin: 25
    id: fan_pwm
    frequency: 25000 Hz    # above audible range

fan:
  - platform: speed
    output: fan_pwm
    name: "Cabinet Fan"
    speed_count: 100
Notes:
- 25 kHz PWM avoids fan whining noise
speed_count: 100gives a 0–100% speed slider in Home AssistantGPIO25is recommended but any PWM-capable pin works
After upload, Home Assistant automatically shows:
fan.cabinet_fan
with a speed slider.
METHOD 2 — MQTT Fan Control (Your Style)
4. Home Assistant configuration.yaml – MQTT Fan Entity
Add under:
mqtt:
  fan:
MQTT Fan YAML
mqtt:
  fan:
    - name: "Cabinet Fan"
      command_topic: "home/fan/set"
      percentage_command_topic: "home/fan/speed"
      state_topic: "home/fan/state"
      percentage_state_topic: "home/fan/speed_state"
This creates a fan with speed control in the UI.
5. ESP32 Arduino MQTT Code (PWM Fan Control)
#include <WiFi.h>
#include <PubSubClient.h>

#define FAN_PIN 25
#define WIFI_SSID "YOUR_WIFI"
#define WIFI_PASS "YOUR_PASSWORD"
#define MQTT_SERVER "192.168.0.10"

WiFiClient espClient;
PubSubClient client(espClient);

int currentSpeed = 0;

void callback(char* topic, byte* payload, unsigned int length) {
  String cmd;

  for (int i = 0; i < length; i++) cmd += (char)payload[i];

  if (String(topic) == "home/fan/speed") {
    int speed = cmd.toInt();               // 0–100
    currentSpeed = speed;
    ledcWrite(0, (speed * 255) / 100);     // convert to 0–255 PWM
    client.publish("home/fan/speed_state", String(speed).c_str());
  }
}

void setup() {
  ledcAttachPin(FAN_PIN, 0);
  ledcSetup(0, 25000, 8);

  WiFi.begin(WIFI_SSID, WIFI_PASS);
  while (WiFi.status() != WL_CONNECTED) delay(500);

  client.setServer(MQTT_SERVER, 1883);
  client.setCallback(callback);
}

void loop() {
  if (!client.connected()) {
    while (!client.connected()) client.connect("ESP32_Fan");
    client.subscribe("home/fan/speed");
  }

  client.loop();
}
Now the fan supports percentage-based speed control from Home Assistant.
6. Temperature-Based Fan Automation
This works with any temperature sensor:
- DS18B20
- SHT45
- BME280
- SCD30 / SCD41 temperature value
Fan speed curve automation example
automation:
  - alias: "Dynamic Fan Cooling"
    trigger:
      - platform: state
        entity_id: sensor.network_cabinet_temperature
    action:
      - choose:
          - conditions: "{{ states('sensor.network_cabinet_temperature') | float > 35 }}"
            sequence:
              - service: fan.set_percentage
                target:
                  entity_id: fan.cabinet_fan
                data:
                  percentage: 100
          - conditions: "{{ states('sensor.network_cabinet_temperature') | float > 30 }}"
            sequence:
              - service: fan.set_percentage
                target:
                  entity_id: fan.cabinet_fan
                data:
                  percentage: 70
          - conditions: "{{ states('sensor.network_cabinet_temperature') | float > 25 }}"
            sequence:
              - service: fan.set_percentage
                target:
                  entity_id: fan.cabinet_fan
                data:
                  percentage: 40
        default:
          - service: fan.turn_off
            target:
              entity_id: fan.cabinet_fan
This makes the fan behave like a smart cooling system.
7. Common Use Cases
- Network cabinet cooling
- Router/modem active cooling
- Media cabinet airflow
- Closet server cooling
- 3D printer chamber ventilation
- Projectors, amplifiers, and other electronics
8. Troubleshooting
Fan always runs at full speed
- Transistor wired incorrectly
- No common GND between ESP32 and PSU
- MOSFET needs logic-level variant (IRLZ44N)
Fan does not move at low PWM
- Increase minimum duty cycle to ~20%
- Add a “kickstart pulse” at 100% for 200 ms
Fan makes buzzing noise
- Raise frequency to 25–30 kHz
- Use MOSFET instead of NPN transistor
Keywords
esp32 pwm fan
esp32 12v fan control
home assistant fan automation
mqtt fan control esp32
esphome pwm output fan
esp32 mosfet fan wiring
network cabinet cooling esp32
pwm dc fan home assistant