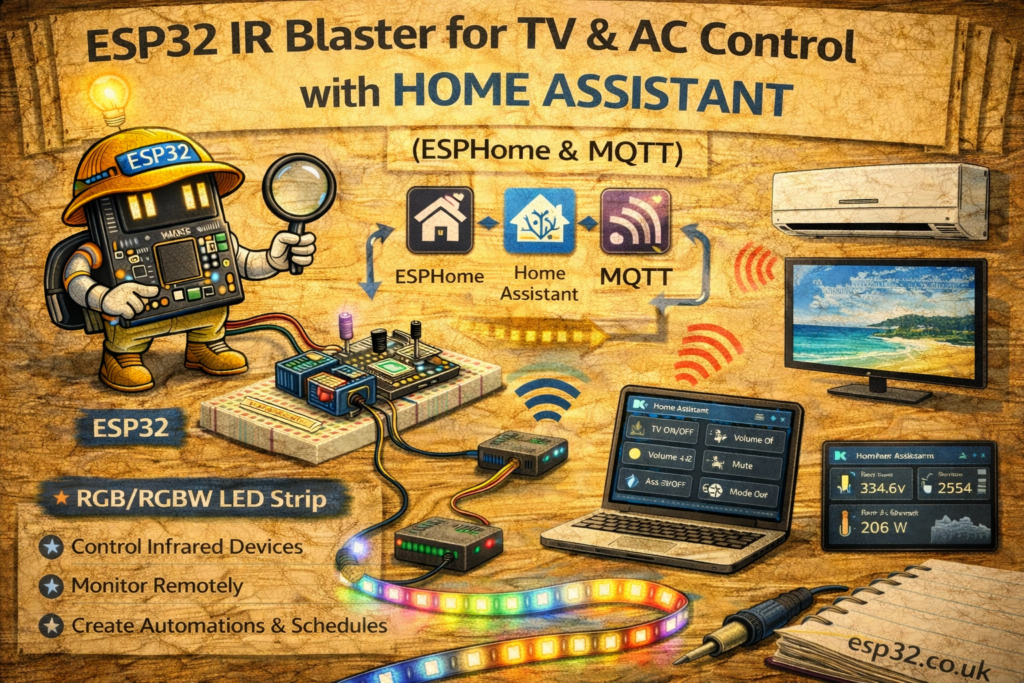
An ESP32 with an IR LED and a small IR receiver can replace multiple remotes:
- Turn the TV on/off from Home Assistant
- Control volume, input, soundbar
- Send complex AC commands (mode, temperature, fan)
- Trigger everything from scenes, automations, dashboards
This guide shows how to:
- Wire an ESP32 as an IR blaster (transmitter + receiver)
- Use ESPHome to capture your remote codes
- Expose “TV Power”, “Volume Up”, “AC 24°C Cool” etc. as scripts / scenes in Home Assistant
- (Optional) Use MQTT + Arduino instead of ESPHome
1. Hardware Required
- ESP32 DevKit
- IR receiver module (e.g. VS1838B, TSOP38238, KY-022 etc.)
- IR LED (5 mm high power IR LED)
- NPN transistor (2N2222, S8050, 2N3904) or logic-level N-MOSFET
- Resistors:
- ~100–220 Ω for IR LED current limiting
- ~1 kΩ for transistor base/gate (if NPN)
- Breadboard / perfboard & jumper wires
- USB power supply
Important: Don’t drive an IR LED directly from an ESP32 GPIO at full current – always use a transistor and resistor.
2. Wiring the IR Blaster
2.1 IR Receiver → ESP32
Most IR receiver modules have 3 pins:
OUT– decoded IR signalGNDVCC– usually 3.3–5 V (check the module)
Example wiring:
ESP32         IR Receiver
3.3V   -----> VCC
GND    -----> GND
GPIO23 -----> OUT
You can pick any free GPIO for OUT (avoid strapping pins); here we’ll use GPIO23.
2.2 IR LED + Transistor → ESP32
Recommended NPN transistor driver:
             3.3V
              |
             100Ω
              |
           IR LED
              |
             C (collector)
          NPN transistor
             E (emitter)
              |
             GND

ESP32 GPIO19 -- 1kΩ -- B (base)
Connections:
- IR LED anode → resistor (100–220 Ω) → 3.3 V
- IR LED cathode → transistor collector
- Transistor emitter → GND
- ESP32 GPIO19 → 1 kΩ → transistor base
- Share GND between ESP32 and transistor
This allows higher LED current for strong IR range without stressing the ESP32 pin.
METHOD 1 – ESPHome IR Blaster
ESPHome has built-in IR support (remote_transmitter and remote_receiver).
The flow is:
- Capture codes in ESPHome logs
- Add “send” actions using those codes
- Expose them as scripts (or switches) to Home Assistant
3. ESPHome Base Configuration
esphome:
  name: esp32-ir-blaster
  platform: ESP32
  board: esp32dev

wifi:
  ssid: "YOUR_WIFI"
  password: "YOUR_PASSWORD"

logger:
api:
ota:
3.1 IR Transmitter Component
remote_transmitter:
  pin: 19
  carrier_duty_percent: 50%
pin: 19→ transistor base GPIO- 50% duty cycle is typical for IR protocols like NEC, Samsung etc.
3.2 IR Receiver Component (for Learning Codes)
remote_receiver:
  pin: 23
  dump: all
  filter: 50us
  idle: 4ms
  tolerance: 25%
dump: allprints any IR code it decodes to the ESPHome logs.- Later, you can change
dump:to a specific protocol if you want.
4. Capturing Remote Codes
- Flash the ESPHome firmware to your ESP32.
- Open ESPHome logs (via the ESPHome add-on or
esphome logs). - Point your TV remote at the receiver and press a button (e.g. Power).
You’ll see lines like:
[remote_receiver:035]: Received NEC: address=0x00FF, command=0x10EF
[remote_receiver:035]: Received SAMSUNG: data=0xE0E040BF
[remote_receiver:035]: Received RAW: 32 ON, 1600us, -800us, ...
Make note of:
- Protocol (e.g.
NEC,SAMSUNG, etc.) - Data / address / command fields
You can repeat for:
- TV power
- Volume up/down
- Mute
- Input/source
- AC power, temp, fan mode (if supported as a single code)
5. Sending IR Codes with ESPHome
You can send codes from:
script:blocks (preferred)switch:actions- or
on_...triggers
5.1 Example: NEC TV Codes
Suppose logs show:
NEC: address=0x00FF, command=0x10EF→ TV PowerNEC: address=0x00FF, command=0x906F→ Volume UpNEC: address=0x00FF, command=0xB04F→ Volume Down
Add scripts to ESPHome:
script:
  - id: tv_power_toggle
    then:
      - remote_transmitter.transmit_nec:
          address: 0x00FF
          command: 0x10EF
          repeat:
            times: 2
            wait_time: 40ms

  - id: tv_volume_up
    then:
      - remote_transmitter.transmit_nec:
          address: 0x00FF
          command: 0x906F

  - id: tv_volume_down
    then:
      - remote_transmitter.transmit_nec:
          address: 0x00FF
          command: 0xB04F
For Samsung,
transmit_samsung:with adata:field is used. For raw/unrecognised protocols, you can usetransmit_raw:with the pulse timings, but that’s more advanced.
6. Exposing IR Commands to Home Assistant
6.1 ESPHome Scripts as Services
All ESPHome script: entries become callable services in Home Assistant:
esphome.esp32_ir_blaster_tv_power_toggleesphome.esp32_ir_blaster_tv_volume_up- etc.
You can call them from:
- Automations
- Scenes
- Dashboard buttons
Example Lovelace entities card:
type: entities
entities:
  - entity: button.tv_power        # we'll create this via template or script helper
  - entity: button.tv_volume_up
  - entity: button.tv_volume_down
Simpler: use Home Assistant scripts that call the ESPHome services.
6.2 Home Assistant Scripts for TV Control
In scripts.yaml (or via UI):
tv_power:
  alias: "TV Power"
  sequence:
    - service: esphome.esp32_ir_blaster_tv_power_toggle

tv_volume_up:
  alias: "TV Volume Up"
  sequence:
    - service: esphome.esp32_ir_blaster_tv_volume_up

tv_volume_down:
  alias: "TV Volume Down"
  sequence:
    - service: esphome.esp32_ir_blaster_tv_volume_down
Then add those scripts to your dashboard or scenes.
7. AC Control with IR
AC units often send full state frames (mode + temp + fan) every time you press a button.
Each “button” on the remote is usually one unique IR code.
You can:
- Capture codes for several states (e.g. “Cool 24°C”, “Cool 26°C”, “Off”).
- Add one ESPHome script for each code.
- Call those scripts from scenes or automations.
Example from logs (fictional Samsung-like code):
[remote_receiver:035]: Received SAMSUNG: data=0xE0E040BF  # AC Cool 24°C
[remote_receiver:035]: Received SAMSUNG: data=0xE0E048B7  # AC Off
Add to ESPHome:
script:
  - id: ac_cool_24
    then:
      - remote_transmitter.transmit_samsung:
          data: 0xE0E040BF

  - id: ac_off
    then:
      - remote_transmitter.transmit_samsung:
          data: 0xE0E048B7
In Home Assistant scripts:
ac_cool_24:
  alias: "AC Cool 24°C"
  sequence:
    - service: esphome.esp32_ir_blaster_ac_cool_24

ac_off:
  alias: "AC Off"
  sequence:
    - service: esphome.esp32_ir_blaster_ac_off
Then you can:
- Put those scripts into a “Summer Evening” scene
- Trigger them with time / temperature automations
For full “AC climate” entities, ESPHome also has
climate:IR components for specific brands, but that’s a deeper topic and brand-specific.
8. Example: Scene with TV + AC
A Home Assistant scene that:
- Turns TV on
- Sets AC to 24°C cool
- Dim lights
scene:
  - name: Movie Night
    entities:
      light.living_room:
        state: on
        brightness: 60
    sequence:
      - service: script.tv_power
      - delay: "00:00:01"
      - service: script.ac_cool_24
(Or include the script calls inside a script.movie_night if you prefer.)
METHOD 2 – MQTT + Arduino IR Blaster (Optional)
If you don’t want ESPHome, you can use:
IRremoteESP8266(popular IR library)PubSubClient(MQTT)
The ESP32 subscribes to topics like home/livingroom/ir/send and sends IR codes accordingly.
9. MQTT Command Format
You can define a simple JSON structure, e.g.:
{"protocol": "NEC", "address": "0x00FF", "command": "0x10EF", "repeat": 2}
Published to home/livingroom/ir/send.
Home Assistant can send this via:
mqtt:
  button:
    - name: "TV Power"
      command_topic: "home/livingroom/ir/send"
      payload_press: '{"protocol":"NEC","address":"0x00FF","command":"0x10EF","repeat":2}'
Or by calling mqtt.publish in scripts/automations.
10. Arduino IR Blaster Code (Short Example)
Conceptual example:
#include <WiFi.h>
#include <PubSubClient.h>
#include <IRremoteESP8266.h>
#include <IRsend.h>
#include <ArduinoJson.h>

#define WIFI_SSID   "YOUR_WIFI"
#define WIFI_PASS   "YOUR_PASSWORD"
#define MQTT_SERVER "192.168.0.10"
#define IR_SEND_PIN 19

WiFiClient espClient;
PubSubClient client(espClient);
IRsend irsend(IR_SEND_PIN);

void callback(char* topic, byte* payload, unsigned int length) {
  if (String(topic) != "home/livingroom/ir/send") return;

  StaticJsonDocument<256> doc;
  DeserializationError error = deserializeJson(doc, payload, length);
  if (error) return;

  String protocol = doc["protocol"] | "";
  uint32_t address = strtoul(doc["address"] | "0", nullptr, 0);
  uint32_t command = strtoul(doc["command"] | "0", nullptr, 0);
  uint8_t repeat = doc["repeat"] | 1;

  if (protocol == "NEC") {
    for (uint8_t i = 0; i < repeat; i++) {
      irsend.sendNEC((address << 16) | command);
      delay(40);
    }
  }

  // Add other protocols as needed
}

void reconnectMQTT() {
  while (!client.connected()) {
    if (client.connect("ESP32_IR_Blaster")) {
      client.subscribe("home/livingroom/ir/send");
    } else {
      delay(2000);
    }
  }
}

void setup() {
  irsend.begin();

  WiFi.begin(WIFI_SSID, WIFI_PASS);
  while (WiFi.status() != WL_CONNECTED) delay(500);

  client.setServer(MQTT_SERVER, 1883);
  client.setCallback(callback);
}

void loop() {
  if (!client.connected()) reconnectMQTT();
  client.loop();
}
This keeps the ESP32 as a pure MQTT-driven IR bridge, and Home Assistant sends JSON commands for different buttons / AC modes.
11. Tips & Troubleshooting
- No response from TV/AC:
- Check IR LED orientation and driver wiring
- Increase repeats (2–3)
- Use a high-power IR LED and point it correctly
- Receiver not decoding:
- Try changing
filterandtolerancevalues - Reduce ambient sunlight or fluorescent light during capture
- Try changing
- Different brands / multiple devices:
- You can mix protocols in one ESP32 (TV + AC + soundbar)
- Just add more scripts with their specific codes
Summary
With a single ESP32, an IR LED, and a receiver, you can:
- Capture real remote codes using ESPHome’s
remote_receiver - Replay them using
remote_transmitterscripts - Expose “TV power”, “AC cool 24°C”, “Volume up/down” as Home Assistant services, scripts and scenes
- Optionally build a pure MQTT IR bridge using Arduino and IRremoteESP8266
It’s an inexpensive, flexible way to integrate legacy IR-only devices (TVs, ACs, receivers, fans) into modern Home Assistant automations.