Bluetooth in Home Assistant can feel magical one day and useless the next—until the proxy network is designed properly. Most “BLE problems” are not software problems. They are RF placement problems: walls, metal, reflections, interference, and bad proxy density.
This guide shows how to build a reliable ESP32 Bluetooth Proxy mesh for Home Assistant, so BLE sensors and presence tracking become stable and predictable.
It covers:
- How many proxies are needed (and where to place them)
- What destroys BLE range (and how to avoid it)
- Best practices for multi-floor homes
- How to validate coverage and fix dropouts
- Practical HA patterns: last-seen, timeouts, RSSI smoothing
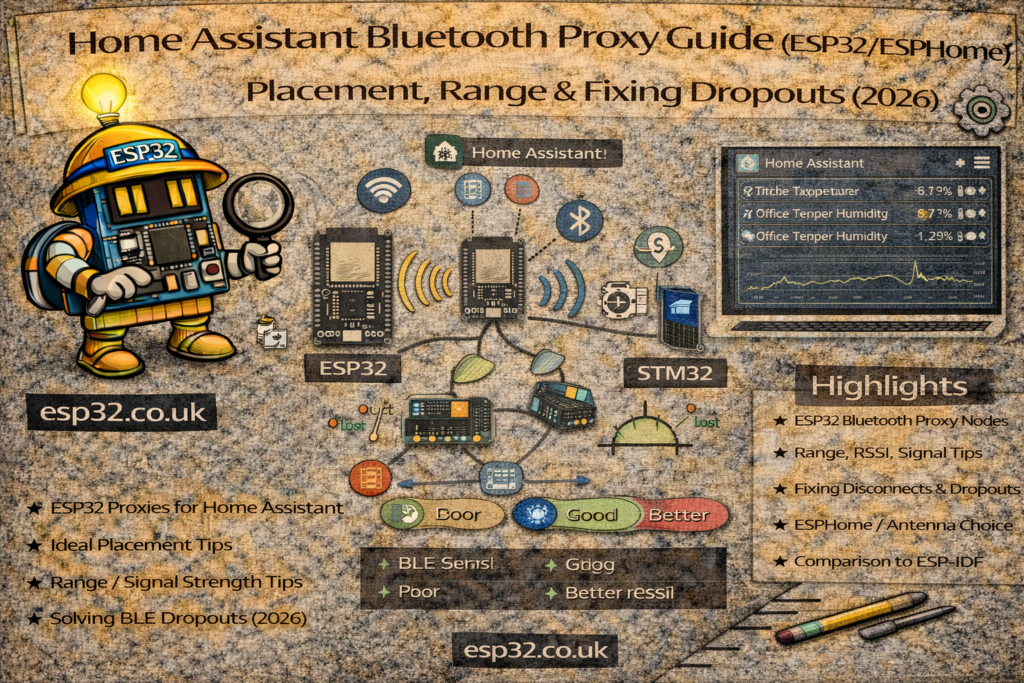
1. What a Bluetooth Proxy Actually Does
An ESP32 Bluetooth Proxy is not “a Bluetooth repeater” in the traditional sense. It’s a BLE listener that forwards what it hears to Home Assistant over Wi-Fi.
So the system is:
BLE device → air → ESP32 hears it → Wi-Fi → Home Assistant
That means reliability depends on two things:
- BLE RF reception (placement, walls, interference)
- Wi-Fi stability to that proxy (signal strength, roaming, congestion)
If either is weak, you’ll see missing updates, “unavailable” devices, or unstable RSSI.
2. Proxy Density: How Many ESP32 Proxies Are Needed?
A good starting rule:
- 1 proxy per key room where BLE data matters
- Plus 1 per floor as a minimum
Examples:
Small apartment (1 floor)
- 1 proxy can work, 2 is usually “feels perfect”
- Place one central, one near bedroom/bathroom
Typical house (2 floors)
- 3–5 proxies is the sweet spot:
- living room
- upstairs hallway
- bedroom zone
- kitchen zone (optional)
- garage (optional)
Hard RF environments
Add proxies if you have:
- reinforced concrete
- foil-backed insulation
- underfloor heating with metal
- lots of steel appliances in between
BLE is cheap. Coverage is king. Overbuilding is better than “just enough”.
3. Placement Rules That Matter
3.1 Height wins
Place proxies:
- around chest height or higher
- not at floor level
- not behind furniture inside closed cabinets
Higher placement reduces blockage and improves line-of-sight paths.
3.2 Avoid metal and “RF sinks”
Keep proxies away from:
- fridges, ovens, washing machines
- metal racks
- server cabinets
- TVs and soundbars with big metal frames
Metal doesn’t just block; it creates reflections that cause unstable RSSI.
3.3 Avoid sitting next to Wi-Fi routers
A proxy right next to a router can be worse due to local RF noise. Give it some physical separation if possible.
3.4 Corridors and stairwells are underrated
For multi-room tracking, a proxy in a hallway or stairwell can often outperform “deep inside a room” because it hears multiple rooms consistently.
4. What Causes BLE Dropouts (and How to Fix Them)
4.1 Phone-based beacons are unreliable by design
Phones reduce BLE advertising to save battery. If presence matters, use a dedicated beacon tag.
Fix: Dedicated iBeacon/Eddystone tag or a BLE tracker that advertises consistently.
4.2 “Unreliable BLE sensor” is usually “proxy is too far”
If a sensor works only sometimes:
- it’s too far
- blocked by a wall
- or the proxy is badly placed
Fix: Move the proxy or add one closer. Don’t fight physics.
4.3 2.4 GHz congestion
BLE and Wi-Fi 2.4 share spectrum. Busy 2.4 GHz can hurt BLE reception and proxy Wi-Fi reliability.
Fix options:
- Put Home Assistant + critical proxies on strong Wi-Fi coverage
- Use 5 GHz Wi-Fi for general clients if possible (reduces 2.4 congestion)
- Avoid overcrowded 2.4 channels
4.4 ESP32 inside an enclosure
Plastic is fine. Metal is not.
Fix: Plastic enclosure, or external antenna ESP32 boards if needed.
5. ESPHome Bluetooth Proxy Configuration (Minimal + Reliable)
A minimal proxy device:
esphome:
  name: ble-proxy-livingroom
  platform: ESP32
  board: esp32dev

wifi:
  ssid: "YOUR_WIFI"
  password: "YOUR_PASSWORD"

logger:
api:
ota:

bluetooth_proxy:
  active: true
That’s it. Keep the proxy simple. Don’t overload it with heavy sensors, displays, and other tasks if it’s meant to be a “BLE anchor”.
6. Multi-Floor Design
Best layout pattern
- Put one proxy near the center of each floor
- Then add proxies near problem rooms:
- bathroom (humidity sensors / fan automation)
- bedrooms (comfort tracking)
- garage (door sensors / car beacon)
Avoid “vertical bleed”
BLE travels through floors more easily than through concrete walls sometimes. This can confuse room detection if a downstairs proxy hears the upstairs beacon strongly.
Fix: Add a proxy upstairs so “best RSSI wins” becomes stable per floor.
7. Validating Coverage: “Is This Proxy Actually Helping?”
A practical test method:
- Pick one known BLE device (beacon or thermometer)
- Watch:
- RSSI (if available)
- last_seen (if available)
- update frequency stability
- Walk a consistent path:
- living room → hallway → kitchen → bedroom
- Look for:
- where it drops out
- where it bounces between proxies
If a room has unstable coverage, solve it with placement and density, not clever templating.
8. Reliability Patterns in Home Assistant
Even with good RF, BLE is still RF. Build logic that expects occasional missing packets.
8.1 “Present” based on last update (recommended)
Presence should not flip to away instantly.
Create a helper logic:
- present if seen within the last X minutes
If you have a last_seen attribute/entity, use it. If not, approximate via “RSSI exists” and delay-off.
8.2 Add timeouts and hysteresis
For room detection:
- use RSSI smoothing (statistics sensor)
- use a margin (e.g. 6–10 dB)
- return “unknown” at boundaries instead of flipping rooms
This is what turns BLE presence from “gimmick” into “solid”.
9. Advanced Tip: Proxy Naming and Maintenance
Name proxies by location:
ble-proxy-livingroomble-proxy-upstairs-hallble-proxy-garage
Why it matters:
- troubleshooting becomes trivial
- you can correlate which proxy is unreliable
- logs make sense instantly
Also give them reserved IPs, and keep firmware consistent.
10. Practical Deployment Checklist
- One proxy per floor minimum
- Extra proxies for bathroom/bedroom/garage if those matter
- Place proxies high, away from metal, not inside cabinets
- Don’t rely on phone BLE for critical presence (use beacon tags)
- Add timeouts and hysteresis in HA templates
- Validate by walking test routes and watching stability
Summary
A reliable Bluetooth setup in Home Assistant is mostly network design, not YAML tricks:
- Coverage comes from proxy density + placement
- Stability comes from timeouts + hysteresis
- Phones are not ideal beacons; dedicated tags are
- If BLE feels flaky, the fix is usually “add/move a proxy”
When done right, Bluetooth becomes one of the strongest local sensing tools in Home Assistant—especially for presence, comfort sensors, and low-power devices.