We’ve covered temperature sensors (e.g., Govee) and mechanical actuators (e.g., SwitchBot). Now comes the most valuable “health layer” in a smart home: Indoor Air Quality (IAQ).
A lot of “smart air monitors” push data over Wi-Fi and vendor apps. A local-first alternative is using BLE air quality monitors that can be ingested locally via your existing Bluetooth coverage (USB adapter or ESP32 Bluetooth proxies). Many of the common IAQ BLE integrations in Home Assistant are explicitly Local Push.
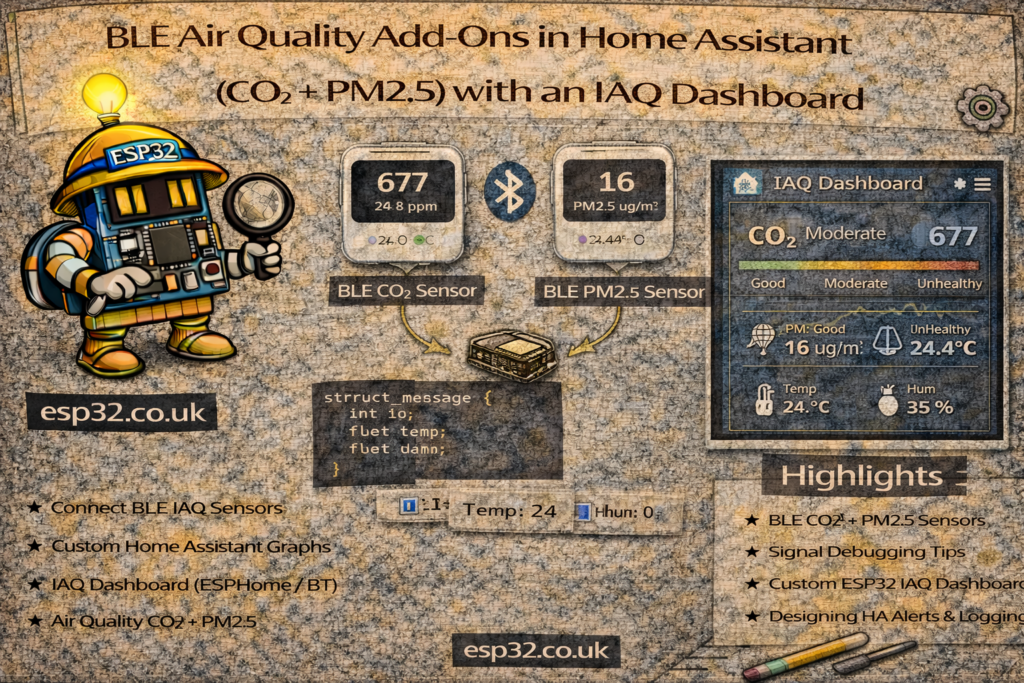
This guide shows how to ingest BLE CO₂ + particulate (PM2.5) and build a clean, useful IAQ dashboard.
Phase 1: Hardware that actually matters
If you only measure two things, pick:
- CO₂ (ppm) → “stuffy room / brain fog / ventilation need”
- PM2.5 (µg/m³) → smoke / cooking aerosols / dust
Good 2026 picks that are supported in Home Assistant
- Qingping Air Monitor Lite (CGDN1)
A true “CO₂ + PM” device (PM2.5, PM10, CO₂, temp, humidity) and it’s listed as supported in the official Qingping integration. - Aranet4
A “gold standard” CO₂ monitor (CO₂ + temp + humidity + pressure) supported by the official Aranet integration. Note: the integration requires firmware ≥ 1.2.0 and “Smart Home integration” enabled in the Aranet mobile app settings. - Inkbird IAM-T1 (and IAM-T2)
Supported by the official INKBIRD integration; many devices require active scans for discovery, and some entities (like battery) may require active scans. The integration docs also call out an IAM-T1 quirk where temperature units are reported periodically.
Phase 2: Ingestion via Bluetooth Proxy (the proxy setup)
If you already run ESPHome Bluetooth proxies, IAQ devices fit naturally into the same network.
Proxy baseline (recommended)
Use the standard Bluetooth Proxy config first (don’t “optimize” prematurely):
bluetooth_proxy:
  active: true
Active scanning: use it when you need it
Some BLE devices (and some entities like battery) may require active scans. The INKBIRD docs explicitly say most devices require active scans to be discovered, and that some entities require active scans.
Enable active scanning like this:
esp32_ble_tracker:
  scan_parameters:
    active: true

bluetooth_proxy:
  active: true
About interval / window
ESPHome explicitly recommends leaving scan parameters at defaults for most users, because changing them often adds CPU/network load and can destabilize Wi-Fi proxies.
So: only touch interval/window if you’re debugging a specific problem.
Phase 3: Create a simple IAQ “status” sensor
Raw numbers aren’t friendly. Make one text sensor that summarizes air quality in plain English.
Add to configuration.yaml (or your templates file):
template:
  - sensor:
      - name: "Living Room Air Status"
        state: >
          {% set co2 = states('sensor.living_room_co2') | float(0) %}
          {% set pm  = states('sensor.living_room_pm2_5') | float(0) %}
          {% if co2 > 1500 or pm > 55 %}
            Hazardous ☣️
          {% elif co2 > 1000 or pm > 35 %}
            Poor ⚠️
          {% elif co2 > 800 or pm > 12 %}
            Fair 😐
          {% else %}
            Excellent 🌿
          {% endif %}
        icon: >
          {% set s = states('sensor.living_room_air_status') %}
          {% if 'Hazardous' in s %} mdi:biohazard
          {% elif 'Poor' in s %} mdi:emoticon-sick
          {% elif 'Fair' in s %} mdi:emoticon-neutral
          {% else %} mdi:leaf
          {% endif %}
Replace sensor.living_room_co2 and sensor.living_room_pm2_5 with your entity IDs.
Phase 4: IAQ dashboard (clean + fast)
A simple “professional” layout: status tile + two gauges + 24h history.
type: vertical-stack
cards:
  - type: tile
    entity: sensor.living_room_air_status
    name: Air Quality Status

  - type: horizontal-stack
    cards:
      - type: gauge
        entity: sensor.living_room_co2
        name: CO₂ (ppm)
        min: 400
        max: 2000
        severity:
          green: 400
          yellow: 1000
          red: 1500
        needle: true

      - type: gauge
        entity: sensor.living_room_pm2_5
        name: PM2.5 (µg/m³)
        min: 0
        max: 100
        severity:
          green: 0
          yellow: 12
          red: 35
        needle: true

  - type: history-graph
    entities:
      - entity: sensor.living_room_co2
      - entity: sensor.living_room_pm2_5
    hours_to_show: 24
    refresh_interval: 0
Phase 5: Automations (turn data into actions)
1) “Stuffy room” alert (CO₂)
alias: "Notify: Stuffy Room (High CO₂)"
trigger:
  - platform: numeric_state
    entity_id: sensor.living_room_co2
    above: 1200
    for: "00:10:00"
action:
  - service: notify.mobile_app_all
    data:
      title: "🥱 Air is stale"
      message: "CO₂ is {{ states('sensor.living_room_co2') }} ppm. Ventilate!"
mode: single
2) “Burnt toast reactor” (PM2.5 → purifier turbo)
alias: "Auto: Purifier Turbo on PM2.5"
trigger:
  - platform: numeric_state
    entity_id: sensor.living_room_pm2_5
    above: 20
action:
  - service: fan.turn_on
    target:
      entity_id: fan.living_room_purifier
  - service: fan.set_percentage
    target:
      entity_id: fan.living_room_purifier
    data:
      percentage: 100
mode: restart
Pro tip: the “ghost sensor” problem (shows on device, unavailable in HA)
If your device screen looks fine but HA shows Unavailable, the usual causes are:
- Battery is low → BLE range collapses
- Proxy placement → move/add a proxy closer (same room is ideal for IAQ)
- Scanning mode mismatch → if your device/integration expects active scanning, enable it (especially relevant for INKBIRD discovery).
- Bluetooth stack hiccup → reload Bluetooth integration / restart HA as a last resort