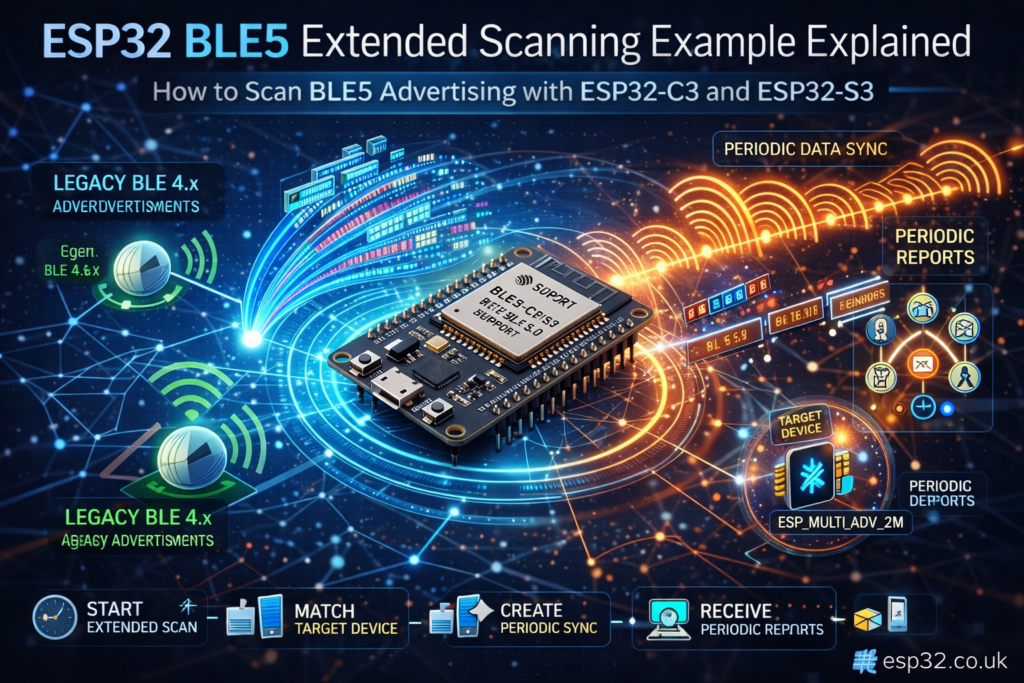
This example shows how to use BLE5 extended scanning on the ESP32-C3 and ESP32-S3 with the Bluedroid stack. It scans for extended advertisements, looks for a specific advertiser name, and then creates a periodic advertising sync so the ESP32 can receive ongoing periodic reports from that device.
BLE on the ESP32 has evolved quite a bit. Older ESP32 chips mainly focus on classic BLE 4.x style advertising and scanning, but the ESP32-C3 and ESP32-S3 add BLE 5 features such as extended advertising and periodic advertising support.
The code in this example is a practical demonstration of that newer capability. It does not just scan for ordinary BLE devices. It scans for extended advertisements, identifies a target advertiser by name, and then creates a periodic sync so it can keep receiving periodic advertising reports from that device.
This is especially useful if you are working with BLE 5 beacons, sensor broadcasters, or any application where a device repeatedly transmits data without requiring a connection.
1. What this example does
At a high level, the sketch does four things:
- It checks that the correct BLE stack and hardware are being used.
- It starts an extended scan on an ESP32-C3 or ESP32-S3.
- It watches for a device advertising with the name
ESP_MULTI_ADV_2M. - When that device is found, it creates a periodic advertising sync and starts receiving periodic reports.
So this is not just a general BLE scanner. It is a BLE5 extended + periodic advertising scanner.
2. Why the compile-time checks matter
The first part of the code makes sure you are compiling for the right environment:
#ifndef CONFIG_BLUEDROID_ENABLED
#error "NimBLE does not support periodic sync yet. Try using Bluedroid."
#elif !defined(SOC_BLE_50_SUPPORTED)
#error "This SoC does not support BLE5. Try using ESP32-C3, or ESP32-S3"
#else
This is important for two reasons.
First, NimBLE does not support periodic sync yet in this example, so the code requires the Bluedroid BLE stack.
Second, not every ESP32 chip supports BLE 5 features. Standard ESP32 boards are not enough here. You need a chip with BLE 5 capability, such as:
If either requirement is not met, compilation stops immediately with a clear error message.
3. Included libraries
Next, the code includes the BLE libraries:
#include <BLEDevice.h>
#include <BLEUtils.h>
#include <BLEScan.h>
These provide the BLE device setup, helper utilities, and scanning functions used throughout the sketch.
4. Global variables and sync parameters
The next section defines a scan pointer, a flag, and the periodic sync settings:
BLEScan *pBLEScan;
static bool periodic_sync = false;

static esp_ble_gap_periodic_adv_sync_params_t periodic_adv_sync_params = {
  .filter_policy = 0,
  .sid = 0,
  .addr_type = BLE_ADDR_TYPE_RANDOM,
  .addr = {0, 0, 0, 0, 0, 0},
  .skip = 10,
  .sync_timeout = 1000,
};
Let’s break this down.
pBLEScan is the global pointer to the scan object.
periodic_sync is a simple protection flag. Once sync has been started, it prevents the code from trying to create another sync again and again for the same advertiser.
periodic_adv_sync_params is the structure used when calling:
esp_ble_gap_periodic_adv_create_sync(...)
The fields mean:
filter_policy = 0means no special filtering policy is used.sidis the advertising SID, which will later be copied from the detected advertiser.addr_typeis initially set to random.addris initially empty and later filled with the advertiser’s address.skip = 10tells the controller to skip some periodic packets between reports.sync_timeout = 1000means a timeout of1000 × 10 ms = 10 seconds.
That timeout defines how long the controller can go without receiving the periodic packets before declaring the sync lost.
5. Extended advertising callback
The first callback class handles incoming extended advertising reports:
class MyBLEExtAdvertisingCallbacks : public BLEExtAdvertisingCallbacks {
  void onResult(esp_ble_gap_ext_adv_report_t params) {
    uint8_t *adv_name = NULL;
    uint8_t adv_name_len = 0;
    adv_name = esp_ble_resolve_adv_data(params.adv_data, ESP_BLE_AD_TYPE_NAME_CMPL, &adv_name_len);
    if ((adv_name != NULL) && (memcmp(adv_name, "ESP_MULTI_ADV_2M", adv_name_len) == 0) && !periodic_sync) {
      periodic_sync = true;
      char adv_temp_name[60] = {'0'};
      memcpy(adv_temp_name, adv_name, adv_name_len);
      log_i("Start create sync with the peer device %s", adv_temp_name);
      periodic_adv_sync_params.sid = params.sid;
      //          periodic_adv_sync_params.addr_type = params.addr_type;
      memcpy(periodic_adv_sync_params.addr, params.addr, sizeof(esp_bd_addr_t));
      esp_ble_gap_periodic_adv_create_sync(&periodic_adv_sync_params);
    }
  }
};
This is where the real logic starts.
Every time an extended advertising report is received, onResult() runs.
Extracting the advertiser name
This line tries to extract the complete device name from the advertising payload:
adv_name = esp_ble_resolve_adv_data(params.adv_data, ESP_BLE_AD_TYPE_NAME_CMPL, &adv_name_len);
If the advertiser includes a complete name field, this function returns a pointer to it.
Matching the target device
Then the code checks three conditions:
- The name was found.
- The name matches
ESP_MULTI_ADV_2M. - A periodic sync has not already been started.
If all three are true, the ESP32 decides that this is the target device.
Starting periodic sync
Once the target is found, the code:
- Sets
periodic_sync = true - Copies the advertising SID from the report
- Copies the advertiser address
- Calls
esp_ble_gap_periodic_adv_create_sync(...)
That last call is the key BLE 5 step. It tells the ESP32 to synchronize with that device’s periodic advertising stream.
One small detail worth noticing
This line is commented out:
// periodic_adv_sync_params.addr_type = params.addr_type;
In some cases, you may want to restore that line so the actual advertiser address type is copied from the report instead of always using the preset value. Depending on the peer device, that can matter.
6. Periodic scan callback class
The second callback class handles periodic sync events:
class MyPeriodicScan : public BLEPeriodicScanCallbacks {
This class responds to stop events, sync loss, sync establishment, and incoming periodic reports.
onStop()
void onStop(esp_bt_status_t status) {
  log_i("ESP_GAP_BLE_EXT_SCAN_STOP_COMPLETE_EVT");
  periodic_sync = false;
  pBLEScan->startExtScan(0, 0);
}
This is called when the extended scan stops.
The code logs the event, clears the periodic_sync flag, and starts scanning again.
The call:
pBLEScan->startExtScan(0, 0);
uses continuous scanning. A duration of 0 and period of 0 means it keeps scanning without a set stop time.
onLostSync()
void onLostSync(uint16_t sync_handle) {
  log_i("ESP_GAP_BLE_PERIODIC_ADV_SYNC_LOST_EVT");
  esp_ble_gap_stop_ext_scan();
}
If synchronization with the periodic advertiser is lost, the code logs it and stops the extended scan.
That may look a bit backwards at first, but it makes sense together with onStop(). Once scanning stops, onStop() restarts it cleanly. So the sketch effectively resets the scanning process after sync loss.
onSync()
void onSync(esp_ble_periodic_adv_sync_estab_param_t params) {
  log_i("ESP_GAP_BLE_PERIODIC_ADV_SYNC_ESTAB_EVT, status %d", params.status);
  log_i("sync handle %d sid %d perioic adv interval %d adv phy %d", params.sync_handle, params.sid, params.period_adv_interval, params.adv_phy);
}
This runs when synchronization is established.
It logs:
- the status
- the sync handle
- the SID
- the periodic advertising interval
- the advertising PHY
This is useful for debugging and confirming that the ESP32 has locked onto the periodic stream correctly.
onReport()
void onReport(esp_ble_gap_periodic_adv_report_t params) {
  log_i("periodic adv report, sync handle %d data status %d data len %d rssi %d", params.sync_handle, params.data_status, params.data_length, params.rssi);
}
This runs each time a periodic advertising packet is received.
The code currently just logs:
- sync handle
- data status
- data length
- RSSI
In a real project, this is where you would parse the periodic advertising data and do something useful with it.
7. What happens in setup()
The setup() function initializes everything:
void setup() {
  Serial.begin(115200);
  Serial.println("Periodic scan...");

  BLEDevice::init("");
  pBLEScan = BLEDevice::getScan();
  pBLEScan->setExtendedScanCallback(new MyBLEExtAdvertisingCallbacks());
  pBLEScan->setExtScanParams();
  pBLEScan->setPeriodicScanCallback(new MyPeriodicScan());
  delay(100);
  pBLEScan->startExtScan(0, 0);
}
Step by step:
- Start serial output for debugging.
- Initialize BLE with an empty local device name.
- Get the scan object.
- Register the extended advertising callback.
- Set the extended scan parameters.
- Register the periodic scan callback.
- Wait briefly so the BLE stack has time to apply the scan settings.
- Start extended scanning.
The comment here is also important:
pBLEScan->setExtScanParams(); // use with pre-defined/default values
This means the example uses default scan parameters. There is also an overloaded version of the function if you want to tune scan interval, window, PHY, filtering, and so on.
8. Why the delay is there
This line is easy to overlook:
delay(100);
It is not part of BLE logic itself. It is just there to give the BLE stack a little time to finish applying the extended scan parameters before scanning begins.
In a simple example that is fine. In a more polished application, you may prefer a more explicit event-driven approach instead of relying on a short fixed delay.
9. What loop() does
The loop is intentionally minimal:
void loop() {
  delay(2000);
}
All the important work happens in callbacks. The main loop does not need to do anything except stay alive.
That is a common pattern in BLE event-driven sketches.
10. Legacy advertising vs extended advertising
The comment at the top of the code explains an important design choice:
this code it is simple to scan legacy (BLE4) compatible advertising, and BLE5 extended advertising
That means the newer BLE scan API does not break old behavior. Instead, it adds support for BLE 5 features on compatible hardware.
So with the C3 and S3 you can handle:
- legacy BLE advertising
- BLE 5 extended advertising
- periodic advertising sync
That gives you much more flexibility than older ESP32 BLE scanning examples.
11. One important change in responsibility
The author also notes this:
advertised device wont be stored in API, it is now user responsibility
This matters.
In many older BLE scan examples, the library stores discovered devices for you. In this newer flow, the application is expected to manage the devices and data it cares about.
That is why this example immediately reacts in the callback instead of relying on a built-in device list.
In practical terms, that means your code must decide:
- what to keep
- what to ignore
- when to sync
- how to store metadata from advertisers
12. Typical flow of this sketch
Here is the runtime behavior in plain English:
- ESP32 starts extended scanning.
- It receives extended advertising reports from nearby BLE devices.
- For each report, it checks the advertiser name.
- If it finds
ESP_MULTI_ADV_2M, it copies the advertiser address and SID. - It creates a periodic advertising sync.
- Once sync is established, periodic reports start arriving.
- If sync is lost, scanning is stopped.
- When the stop event completes, scanning starts again.
That makes the sketch self-recovering to a degree, which is useful in real radio environments.
13. What you can improve in a real project
This example is intentionally simple, but there are several obvious upgrades you could make.
Use the real advertiser address type
Instead of keeping:
.addr_type = BLE_ADDR_TYPE_RANDOM
you may want to copy params.addr_type when the target advertiser is found.
Check name length more safely
This comparison:
memcmp(adv_name, "ESP_MULTI_ADV_2M", adv_name_len)
works in this example, but stricter code would also verify that adv_name_len matches the expected string length.
Parse periodic data
Right now onReport() only logs the packet info. In a real application you would likely decode the payload bytes and extract actual sensor or status data.
Add filtering beyond name
Depending only on the advertised name can be fragile. You might also filter by:
- address
- SID
- manufacturer data
- service UUID
- PHY characteristics
Manage multiple targets
This example only syncs with one target and uses a simple boolean flag. A more advanced application might track several devices and choose which one to sync with.
14. Who should use this example
This example is useful if you want to learn or build:
- BLE 5 extended scanning on ESP32-C3
- BLE 5 periodic advertising receiver on ESP32-S3
- long-running beacon or broadcast listeners
- connectionless BLE sensor receivers
- experimental BLE 5 projects using Bluedroid
If you are using a classic original ESP32, this specific example is not for that chip.
15. Final thoughts
This sketch is a solid demonstration of how BLE 5 features work on newer ESP32 hardware. The important shift is that the ESP32 is no longer just doing ordinary BLE scanning. It is:
- receiving extended advertising reports
- selecting a target advertiser
- creating a periodic sync
- receiving repeated periodic data
That opens the door to more advanced broadcast-style BLE applications without needing a connection.
For BLE 5 work on ESP32-C3 and ESP32-S3, this is a very good example to understand the workflow.
|
1 2 3 4 5 6 7 8 9 10 11 12 13 14 15 16 17 18 19 20 21 22 23 24 25 26 27 28 29 30 31 32 33 34 35 36 37 38 39 40 41 42 43 44 45 46 47 48 49 50 51 52 53 54 55 56 57 58 59 60 61 62 63 64 65 66 67 68 69 70 71 72 73 74 75 76 77 78 79 80 81 82 83 84 85 86 87 88 89 90 91 92 93 94 95 |
/* BLE5 extended scan example for esp32 C3 and S3 with this code it is simple to scan legacy (BLE4) compatible advertising, and BLE5 extended advertising. New coded added in BLEScan is not changing old behavior, which can be used with old esp32, but is adding functionality to use on C3/S3. With this new API advertised device wont be stored in API, it is now user responsibility author: chegewara */ #ifndef CONFIG_BLUEDROID_ENABLED #error "NimBLE does not support periodic sync yet. Try using Bluedroid." #elif !defined(SOC_BLE_50_SUPPORTED) #error "This SoC does not support BLE5. Try using ESP32-C3, or ESP32-S3" #else #include <BLEDevice.h> #include <BLEUtils.h> #include <BLEScan.h> BLEScan *pBLEScan; static bool periodic_sync = false; static esp_ble_gap_periodic_adv_sync_params_t periodic_adv_sync_params = { .filter_policy = 0, .sid = 0, .addr_type = BLE_ADDR_TYPE_RANDOM, .addr = {0, 0, 0, 0, 0, 0}, .skip = 10, .sync_timeout = 1000, // timeout: 1000 * 10ms }; class MyBLEExtAdvertisingCallbacks : public BLEExtAdvertisingCallbacks { void onResult(esp_ble_gap_ext_adv_report_t params) { uint8_t *adv_name = NULL; uint8_t adv_name_len = 0; adv_name = esp_ble_resolve_adv_data(params.adv_data, ESP_BLE_AD_TYPE_NAME_CMPL, &adv_name_len); if ((adv_name != NULL) && (memcmp(adv_name, "ESP_MULTI_ADV_2M", adv_name_len) == 0) && !periodic_sync) { periodic_sync = true; char adv_temp_name[60] = {'0'}; memcpy(adv_temp_name, adv_name, adv_name_len); log_i("Start create sync with the peer device %s", adv_temp_name); periodic_adv_sync_params.sid = params.sid; // periodic_adv_sync_params.addr_type = params.addr_type; memcpy(periodic_adv_sync_params.addr, params.addr, sizeof(esp_bd_addr_t)); esp_ble_gap_periodic_adv_create_sync(&periodic_adv_sync_params); } } }; class MyPeriodicScan : public BLEPeriodicScanCallbacks { // void onCreateSync(esp_bt_status_t status){} // void onCancelSync(esp_bt_status_t status){} // void onTerminateSync(esp_bt_status_t status){} void onStop(esp_bt_status_t status) { log_i("ESP_GAP_BLE_EXT_SCAN_STOP_COMPLETE_EVT"); periodic_sync = false; pBLEScan->startExtScan(0, 0); // scan duration in n * 10ms, period - repeat after n seconds (period >= duration) } void onLostSync(uint16_t sync_handle) { log_i("ESP_GAP_BLE_PERIODIC_ADV_SYNC_LOST_EVT"); esp_ble_gap_stop_ext_scan(); } void onSync(esp_ble_periodic_adv_sync_estab_param_t params) { log_i("ESP_GAP_BLE_PERIODIC_ADV_SYNC_ESTAB_EVT, status %d", params.status); // esp_log_buffer_hex("sync addr", param->periodic_adv_sync_estab.adv_addr, 6); log_i("sync handle %d sid %d perioic adv interval %d adv phy %d", params.sync_handle, params.sid, params.period_adv_interval, params.adv_phy); } void onReport(esp_ble_gap_periodic_adv_report_t params) { log_i("periodic adv report, sync handle %d data status %d data len %d rssi %d", params.sync_handle, params.data_status, params.data_length, params.rssi); } }; void setup() { Serial.begin(115200); Serial.println("Periodic scan..."); BLEDevice::init(""); pBLEScan = BLEDevice::getScan(); //create new scan pBLEScan->setExtendedScanCallback(new MyBLEExtAdvertisingCallbacks()); pBLEScan->setExtScanParams(); // use with pre-defined/default values, overloaded function allows to pass parameters pBLEScan->setPeriodicScanCallback(new MyPeriodicScan()); delay(100); // it is just for simplicity this example, to let ble stack to set extended scan params pBLEScan->startExtScan(0, 0); } void loop() { delay(2000); } #endif // SOC_BLE_50_SUPPORTED |