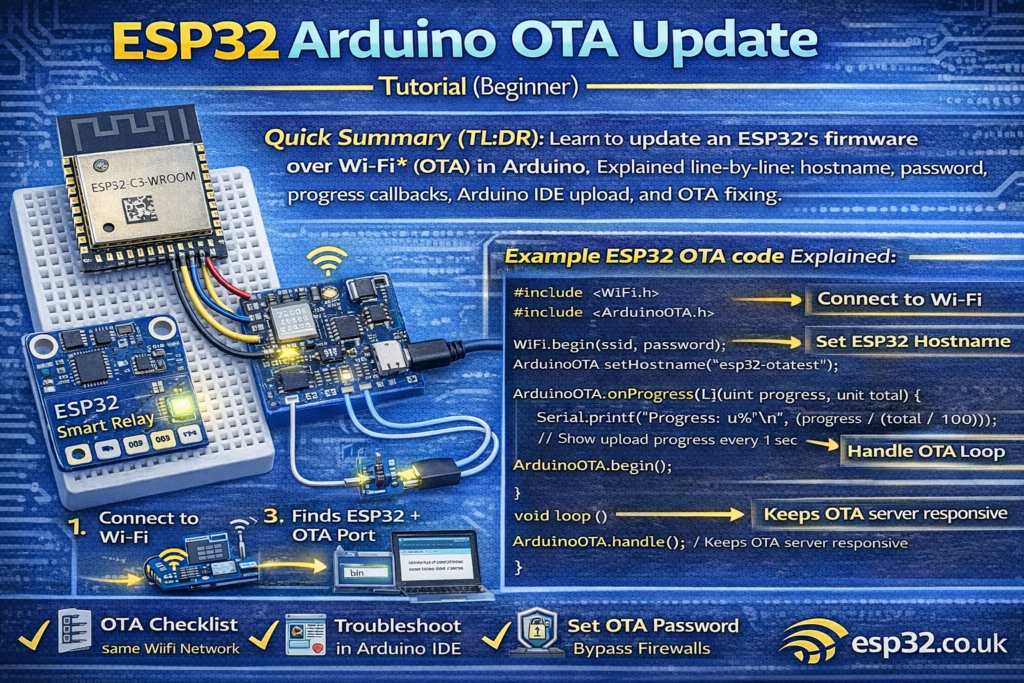
This beginner guide explains Espressif’s ArduinoOTA example for ESP32. You’ll learn what OTA is, how the ESP32 advertises itself on your network, how the upload works in Arduino IDE, what each callback means (start/progress/end/error), and the most common fixes when OTA won’t connect.
OTA stands for Over-The-Air update. It lets you upload new firmware to your ESP32 over Wi-Fi instead of plugging in a USB cable every time.
The basic idea is simple:
- ESP32 connects to your Wi-Fi
- It starts an OTA service (a small update server)
- Your computer finds the ESP32 on the network
- Arduino IDE uploads the new firmware wirelessly
Below is the exact example you posted, explained in plain English.
1) What you need before OTA will work
- An ESP32 board already flashed once via USB (OTA can’t help until the device is on Wi-Fi)
- Arduino IDE with the ESP32 board package installed
- Your PC and ESP32 on the same LAN/Wi-Fi network
- A router that allows devices to discover each other (guest Wi-Fi often blocks this)
2) The libraries in this OTA example
#include <WiFi.h>
#include <ESPmDNS.h>
#include <NetworkUdp.h>
#include <ArduinoOTA.h>
What each one does:
- WiFi.h: connects the ESP32 to your router
- ESPmDNS.h: mDNS name discovery (“find my device by name instead of IP”)
- NetworkUdp.h: OTA uses UDP for discovery/transport pieces
- ArduinoOTA.h: the OTA server that receives firmware and writes it to flash
3) Wi-Fi connection (why it reboots on failure)
WiFi.mode(WIFI_STA);
WiFi.begin(ssid, password);
while (WiFi.waitForConnectResult() != WL_CONNECTED) {
  Serial.println("Connection Failed! Rebooting...");
  delay(5000);
  ESP.restart();
}
WIFI_STAputs the ESP32 in “client mode” (it connects to your router)- It tries to connect once
- If it fails, the sketch waits 5 seconds and restarts (so it will keep retrying forever)
This is useful for OTA devices that need to recover automatically after power outages.
4) OTA defaults (port, hostname, password)
These are optional settings:
// ArduinoOTA.setPort(3232);
// ArduinoOTA.setHostname("myesp32");
// ArduinoOTA.setPassword("admin");
Port
- Default is 3232
- You rarely need to change it unless your network blocks it
Hostname
- Default is esp3232-[MAC]
- Setting a readable hostname makes OTA much nicer:
Example:
ArduinoOTA.setHostname("garage-relay");
assword (highly recommended)
Without a password, anyone on your network could potentially upload firmware.
You can set:
- plain password (
setPassword) - or a SHA-256 hash (
setPasswordHash) if you don’t want the plaintext in code
5) OTA “callbacks” (the best part of the example)
The example sets up handlers that print useful info to Serial.
5.1 onStart()
.onStart([]() {
  String type;
  if (ArduinoOTA.getCommand() == U_FLASH) type = "sketch";
  else type = "filesystem";
  Serial.println("Start updating " + type);
})
This runs when OTA begins.
U_FLASHmeans you’re uploading the firmwareU_SPIFFSmeans you’re uploading a filesystem image (SPIFFS/LittleFS)
If you use SPIFFS/LittleFS updates, this is where you’d unmount it first.
5.2 onProgress()
.onProgress([](unsigned int progress, unsigned int total) {
  Serial.printf("Progress: %u%%\n", (progress / (total / 100)));
})
This prints upload progress.
The example throttles progress logs to once every ~500 ms so Serial output doesn’t become spam.
5.3 onEnd()
.onEnd([]() {
  Serial.println("\nEnd");
})
Runs when the OTA transfer finishes.
Usually the ESP32 will reboot into the new firmware automatically after completion.
5.4 onError()
.onError([](ota_error_t error) {
  Serial.printf("Error[%u]: ", error);
  ...
})
This is your “why didn’t OTA work?” decoder:
- OTA_AUTH_ERROR → wrong password
- OTA_BEGIN_ERROR → could not start update (often partition/flash issues)
- OTA_CONNECT_ERROR → PC can’t connect to device
- OTA_RECEIVE_ERROR → transfer failed mid-way (Wi-Fi instability)
- OTA_END_ERROR → finalization failed (rare, but can be flash/partition related)
6) Starting the OTA server
ArduinoOTA.begin();
This starts the OTA service. After this, the ESP32 is “listening” for OTA updates.
Then it prints:
Serial.println("Ready");
Serial.print("IP address: ");
Serial.println(WiFi.localIP());
That IP is useful for debugging, but usually you won’t need it if discovery works.
7) The most important line in the whole sketch
void loop() {
  ArduinoOTA.handle();
}
This must run constantly.
If your loop is blocked by long delays or heavy work, OTA can fail.
Best practice
In real projects, keep OTA responsive by:
- calling
ArduinoOTA.handle()frequently - avoiding long blocking
delay()calls - or using timers / non-blocking code
8) How to upload OTA from Arduino IDE
Once you flash this sketch once by USB:
- Keep the ESP32 powered (USB is fine)
- Open Arduino IDE
- Go to Tools → Port
- Wait a few seconds
- You should see a network port entry (often like
esp3232-xxxxxx at 192.168.x.x) - Select that port
- Upload normally
If you don’t see a network port, jump to troubleshooting below.
9) Troubleshooting (most common OTA failures)
OTA port doesn’t appear in Arduino IDE
Check:
- ESP32 and PC are on the same network
- You’re not on guest Wi-Fi
- Router/AP isolation is not enabled
- Firewall is not blocking mDNS/UDP discovery
Quick test:
- Open Serial Monitor and confirm ESP32 prints an IP address
Upload starts then fails at some %
Most common causes:
- weak Wi-Fi signal
- power instability
- your sketch blocks OTA handling (long delays)
Fix:
- move ESP32 closer to router
- add better power supply / USB cable
- ensure
ArduinoOTA.handle()runs frequently
“Auth Failed”
You set a password but Arduino IDE isn’t sending the correct one.
Recheck:
ArduinoOTA.setPassword(...)- Arduino IDE prompts for password when uploading OTA
“Begin Failed”
Often means:
- wrong partition layout / flash issues
- not enough OTA space (depending on your partition scheme)
If you’re using Arduino IDE partition schemes, choose one that supports OTA (two app slots).
10) A safer “real-world” OTA template (small upgrades)
If you want a cleaner beginner upgrade:
- Set a hostname
- Add a password
- Print the OTA hostname in serial
Example additions:
ArduinoOTA.setHostname("esp32-ota-node");
ArduinoOTA.setPassword("change_this_password");