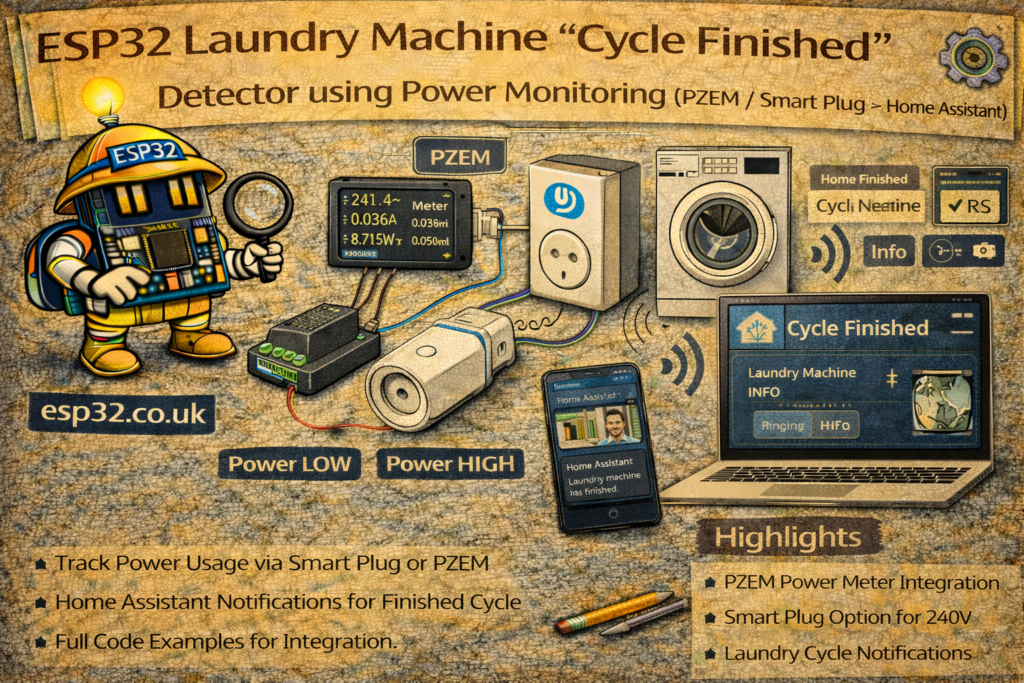
If you’ve ever forgotten wet laundry in the washing machine for 3 hours, you already understand the value of this automation.
Laundry machines and dryers have a very distinct power signature:
- Start of cycle: power jumps high
- During cycle: fluctuates (motor, heater, pump)
- End of cycle: drops to low standby power and stays there
By monitoring power, Home Assistant can reliably detect:
- Cycle started
- Cycle finished
- Send a phone notification
- Optionally flash a light, play a sound, or announce on a speaker
This guide shows two practical approaches:
- PZEM-004T + ESP32 (wired power monitoring)
- Smart plug / smart socket (no DIY electronics)
Both feed data into Home Assistant, where an automation uses a simple power curve logic.
1. Which Method Should You Use?
Option A — PZEM + ESP32
Pros
- Accurate real-time power, voltage, current
- Works with almost any appliance circuit
- Cheap hardware
Cons
- Requires wiring inside a mains enclosure (safety)
- More DIY effort
Option B — Smart Plug (Shelly / TP-Link / Tuya / Zigbee)
Pros
- Easiest and safest
- Already supported in Home Assistant
Cons
- Some plugs struggle with high loads (dryers)
- Must choose a plug rated for your appliance current
Rule of thumb:
- Washing machine: smart plug is often fine (check amperage and surge rating)
- Dryer / big heater loads: safer to use dedicated monitoring or a properly rated device (e.g., Shelly EM / Shelly Pro EM / DIN meter)
2. Power Behaviour of Washing Machines & Dryers
You need two thresholds:
- Running threshold: above this, the machine is “active”
Example:> 10–30 Wdepending on appliance - Finished threshold: below this for X minutes → cycle complete
Example:< 3–8 W for 5 minutes
Standby power varies:
- Some machines sit at 1–3 W
- Others sit at 5–12 W (display, electronics)
So you must measure your appliance once, then set thresholds accordingly.
METHOD 1 — ESP32 + PZEM-004T Power Monitoring
3. Hardware (PZEM)
Typical parts:
- ESP32 DevKit
- PZEM-004T v3 module
- Enclosure + terminals (recommended)
- Safe wiring to measure the appliance circuit
⚠️ Mains safety matters here. If you’re not confident with mains wiring, use the smart plug method instead.
3.1 PZEM Wiring (UART)
PZEM communicates by UART:
ESP32         PZEM-004T
5V     -----> VCC
GND    -----> GND
GPIO16 -----> RX
GPIO17 -----> TX
(Some PZEM boards use 5V logic on UART; v3 modules are usually okay, but confirm with your specific module.)
4. ESPHome (Recommended) – PZEM Entities in Home Assistant
ESPHome makes this trivial.
esphome:
  name: esp32-laundry-power
  platform: ESP32
  board: esp32dev

wifi:
  ssid: "YOUR_WIFI"
  password: "YOUR_PASSWORD"

logger:
api:
ota:

uart:
  rx_pin: 16
  tx_pin: 17
  baud_rate: 9600

sensor:
  - platform: pzemac
    current:
      name: "Laundry Current"
    voltage:
      name: "Laundry Voltage"
    power:
      name: "Laundry Power"
      id: laundry_power
    energy:
      name: "Laundry Energy"
    frequency:
      name: "Laundry Frequency"
    power_factor:
      name: "Laundry Power Factor"
    update_interval: 5s
Home Assistant will now have sensor.laundry_power in watts.
METHOD 2 — Smart Plug Power Monitoring
If you already have:
- Shelly Plug, Shelly Plus Plug
- TP-Link Kasa plug
- Zigbee plug with power monitoring
- Tuya plug (local integration preferred)
Home Assistant usually exposes something like:
sensor.washing_machine_powersensor.dryer_power
You can use the exact same automation logic below.
5. Home Assistant: “Cycle Finished” Detection Logic
We’ll create:
- A binary sensor representing “machine running”
- An automation that triggers when it goes from running → not running for a duration
This is more reliable than “power below X once” because it handles dips during the cycle.
5.1 Create a Template Binary Sensor: Machine Running
Add to Home Assistant YAML (or create in UI helpers if you prefer):
template:
  - binary_sensor:
      - name: "Washing Machine Running"
        state: >
          {{ states('sensor.laundry_power') | float(0) > 15 }}
Set the threshold (here 15 W) to match your machine.
For dryers you may use a higher threshold, but typically 15–30 W works.
6. Automation: Notify When Cycle Finished
Trigger when the machine stops drawing power and stays stopped for a while (e.g. 5 minutes).
automation:
  - alias: "Laundry – Cycle Finished Notification"
    trigger:
      - platform: state
        entity_id: binary_sensor.washing_machine_running
        to: "off"
        for: "00:05:00"
    condition:
      # Optional: only notify if it was running recently
      - condition: template
        value_template: >
          {{ (as_timestamp(now()) - as_timestamp(states.binary_sensor.washing_machine_running.last_changed)) > 60 }}
    action:
      - service: notify.mobile_app
        data:
          title: "Laundry"
          message: "Washing cycle finished ✅ Time to unload!"
Why the “for: 5 minutes” matters
Washing machines can briefly drop power during a cycle (pump pauses, motor coasts).
The for: prevents false “finished” notifications.
7. Avoid False Positives: Require “Cycle Started” First (Recommended)
For best reliability, track a cycle state:
- Create an
input_booleanhelper:input_boolean.washing_cycle_active
7.1 Cycle Start Automation
automation:
  - alias: "Laundry – Cycle Started"
    trigger:
      - platform: state
        entity_id: binary_sensor.washing_machine_running
        to: "on"
        for: "00:01:00"
    action:
      - service: input_boolean.turn_on
        target:
          entity_id: input_boolean.washing_cycle_active
This ensures it’s not a false blip.
7.2 Cycle Finished Automation (with cycle_active check)
  - alias: "Laundry – Cycle Finished (Reliable)"
    trigger:
      - platform: state
        entity_id: binary_sensor.washing_machine_running
        to: "off"
        for: "00:05:00"
    condition:
      - condition: state
        entity_id: input_boolean.washing_cycle_active
        state: "on"
    action:
      - service: notify.mobile_app
        data:
          title: "Laundry"
          message: "Washing cycle finished ✅"
      - service: input_boolean.turn_off
        target:
          entity_id: input_boolean.washing_cycle_active
This prevents notifications if the machine was never “in a cycle” in the first place.
8. Extra Improvements
8.1 Different Messages for Washing Machine vs Dryer
If you monitor both, duplicate the logic with different thresholds.
8.2 Flash a Light or Play a Sound
Add actions like:
- service: light.turn_on
  target:
    entity_id: light.kitchen_light
  data:
    flash: short
or send to a speaker (Google / Sonos / HA Assist).
8.3 Show Status on Dashboard
Use a card:
type: entities
entities:
  - binary_sensor.washing_machine_running
  - sensor.laundry_power
  - input_boolean.washing_cycle_active
9. Tuning Thresholds (The Part That Matters)
Before setting thresholds, watch your power sensor:
- Idle standby power (machine “off” but plugged in)
- Typical mid-cycle low points
- End-of-cycle standby behaviour
Start with:
- Running threshold: 15 W
- Finished threshold: “running” turns off when <15 W
- Finished
for:: 5 minutes
Then adjust:
- If you get false finished alerts → increase the
for:duration - If it never triggers finished → reduce threshold slightly or check standby wattage
Summary
A “cycle finished” detector is one of the best Home Assistant automations:
- Works with either PZEM + ESP32 or a smart plug
- Uses the machine’s power curve to reliably detect the end of a cycle
- Sends notifications so laundry doesn’t sit forgotten
Once tuned, it becomes one of those “how did I live without this?” automations—and it’s completely local and robust.